

Trench Composting for Beginners: Bury Your Kitchen Waste Straight Into the Bed
Skip the compost pile and the turning altogether. Bury your kitchen scraps directly where your next crop will grow, and let the soil itself do the composting — no smell, no pests, no extra corner of the yard needed.
Quick answer
Trench composting turns your garden bed itself into the compost system — no bin, no turning, no smell, and the nutrients end up exactly where your next crop's roots will find them. Dig 30-45cm deep, bury chopped kitchen scraps under at least 15-20cm of soil, keep diseased material and thick clumps out, and give it a few months before planting directly on top.
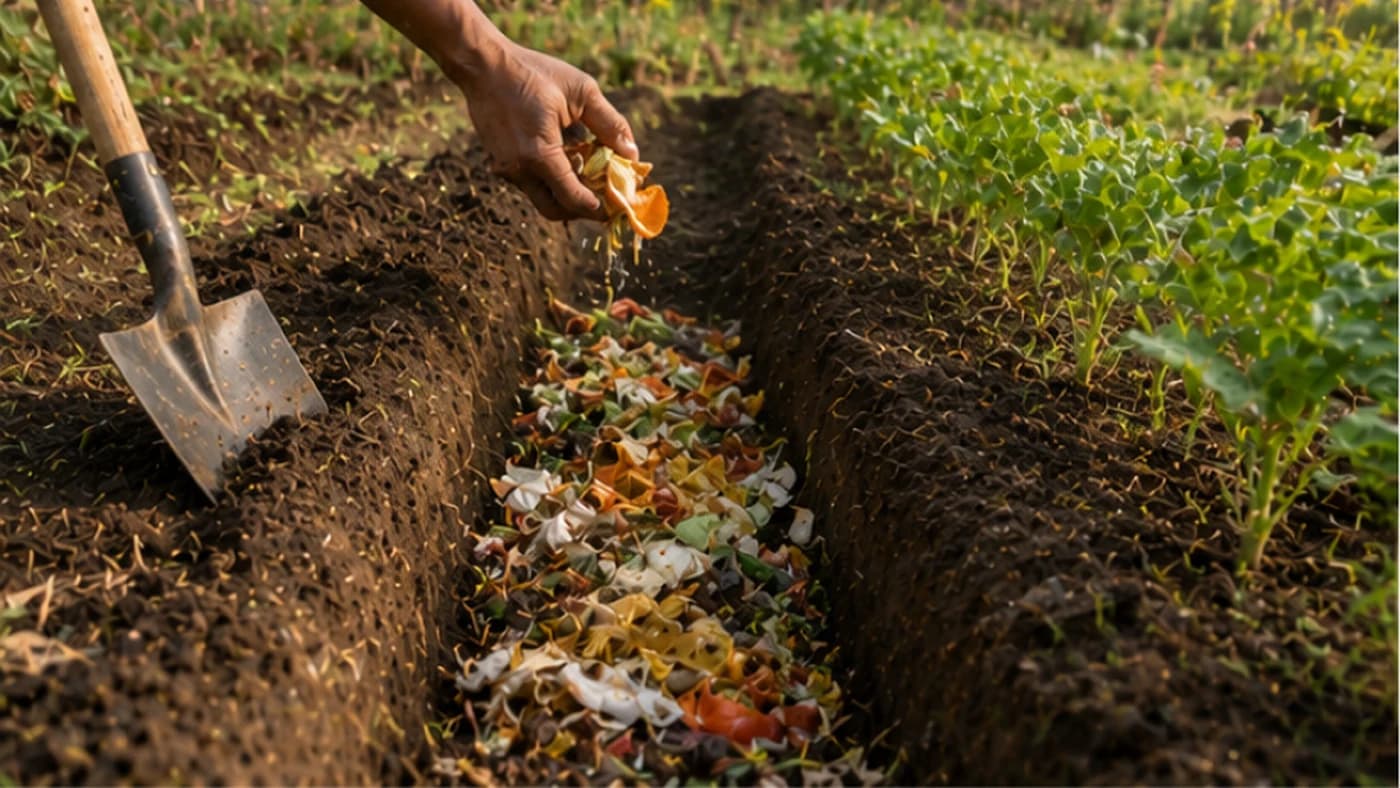
Long before compost bins and tumblers existed, farmers and gardeners used a simpler method: dig a hole, bury the kitchen waste, and let the soil do the rest. Trench composting delivers nutrients directly to the root zone of your next crop instead of to a corner of the yard nobody's growing anything in. It needs no turning, no monitoring, and no dedicated compost area — just a spade and a bit of patience.
What trench composting actually is
Trench composting — sometimes called dig-and-drop composting — means burying kitchen scraps and garden waste directly in the soil, rather than building an above-ground pile that needs regular turning and watering. It mirrors what happens naturally on a forest floor, where fallen matter gets buried under more matter and slowly becomes part of the earth — trenching simply speeds that process up by placing the waste exactly where plant roots can reach it. This isn't a new idea in Indian farming either: burying crop residue and kitchen waste directly into field or bed soil has long been part of traditional practice, and it scales from a large field down to a single raised bed or kitchen garden corner.
How deep, and how to do it
The key number to remember is depth: dig your trench 30-45cm deep, which keeps it deep enough to avoid attracting pests but shallow enough that soil microbes in the root zone can still break the material down. Choose a section of the bed that will sit fallow for a few months, dig a trench roughly 30cm wide along your planting row, and set the excavated soil aside for covering later. Fill the bottom 10-15cm with chopped vegetable peels, coffee grounds, eggshells and soft trimmings — chopping into small pieces speeds decomposition — and add a thin layer of dry material (dried leaves or shredded cardboard) for carbon balance if you have it. Cover with at least 15-20cm of the reserved soil; this depth matters because it acts as a natural filter for odour, keeping the site free of interest to dogs or rodents, and over the following months earthworms will move in and finish the job.
Why it's worth doing
The core advantage is direct delivery — nutrients release exactly where your next tomato, brinjal or gourd crop is searching for them, rather than leaching into ground under a pile where nothing is growing. Buried organic matter also holds moisture like a sponge, so a bed with a trench underneath stays hydrated longer through hot weather than one relying only on surface mulch. There's no turning, no smell (since the waste is under a thick layer of soil), no dedicated compost corner eating into your growing space, and buried waste is essentially invisible and scentless to scavenging animals.
Common mistakes
The most frequent error is shallow burial — cover with less than 15cm and you risk attracting dogs or rodents digging it up, so always keep at least that much soil on top. Dumping a large wet mass (like grass clippings) all at once causes clumping and a foul, slimy anaerobic mess; mix greens with a bit of soil or dry material as you fill the trench to create air pockets instead. And be patient — trenching is slower than an active aerobic compost pile, typically taking 4-6 months to break down fully, and planting directly on top too early can temporarily tie up nitrogen as microbes work through the carbon-heavy material, leaving young plants yellow and stunted.
Where it doesn't work well
Heavy, waterlogged clay soil is the main limitation — without good drainage, water collects in the trench, oxygen is cut off, and the material turns into a sour, anaerobic sludge instead of healthy humus, so amend drainage with sand or compost before trenching in such soil. Trenching also doesn't reach the high temperatures needed to kill weed seeds or plant disease pathogens, so keep diseased plant material and seed-heavy weeds out of your trench — stick to kitchen scraps and healthy garden trimmings only.
Trench versus a compost bin
A trench needs no turning or aeration, takes 4-12 months to break down, keeps nutrients concentrated exactly where they're buried, stays invisible underground, and costs nothing beyond a spade. A traditional bin needs regular turning, finishes faster (2-4 months if well managed), can lose some nutrients to leaching, sits visibly in the yard, and can cost something to build or buy. A bin gives you mobile, movable compost you can carry anywhere in the garden; a trench builds fertility exactly where it's dug and stays there — which one suits you depends on your space, effort, and whether you already know where your next crop is going.
Getting the most out of it
Chop everything small before burying — a whole cabbage stump can take a year to disappear, while chopped pieces vanish in six weeks. If you want to fertilise your whole plot over time, rotate a three-strip system: this year's trench strip becomes next year's path, next year's crop strip becomes the trench, so every part of the bed gets deeply fertilised over a three-year cycle. Mark the active end of your trench with a stick or stone so you don't accidentally dig into last week's unfinished burial while adding fresh scraps.
Speeding it up and a working example
Adding a handful of red wiggler worms to a freshly filled trench (worm trenching) speeds decomposition noticeably, since the worms tunnel through the material, aerating it and leaving nutrient-rich castings right in the root zone. If you're burying a lot of acidic material like coffee grounds or citrus peels, a light sprinkle of garden lime or wood ash before covering keeps the trench from turning too acidic. As a working example: dig a 35-40cm deep trench down the centre of a raised bed in the off-season, fill it gradually with kitchen scraps over a few months, cover and let it settle, then plant heavy feeders like tomato or pumpkin on either side — their roots will grow toward the buried nutrient band and typically outperform a bed fed only by surface mulch or fertiliser.
Terms explained in this guide
Frequently asked
How deep should a compost trench be?+
Dig 30-45cm deep. This is deep enough to avoid attracting pests but shallow enough that soil microbes in the root zone can still break the material down effectively.
How long does trench composting take?+
Typically 4-6 months to break down fully, sometimes up to a year in cooler conditions — slower than an active above-ground compost pile, but requiring no turning or monitoring.
Can I plant right on top of a freshly filled trench?+
Not immediately. Fresh, uncomposted material can temporarily tie up soil nitrogen as microbes break it down, which can stunt or yellow young plants. Give it a few weeks to months, or plant to the side of a very fresh trench rather than directly on top.
What should I never put in a compost trench?+
Avoid diseased plant material and seed-heavy weeds, since trenching doesn't reach the high temperatures needed to kill pathogens or weed seeds. Also avoid meat, dairy and oils, which attract pests and rot differently than plant matter.
Does trench composting work in clay or waterlogged soil?+
Not well without amendment. Poor drainage traps water in the trench, cutting off oxygen and turning the material into a sour, anaerobic sludge. Improve drainage with sand or finished compost before trenching in heavy clay.
Where to go next
Want this as daily tasks for your farm?
Khetiyaar turns guides like this into a day-by-day plan — in your language, free to start.

Related guides
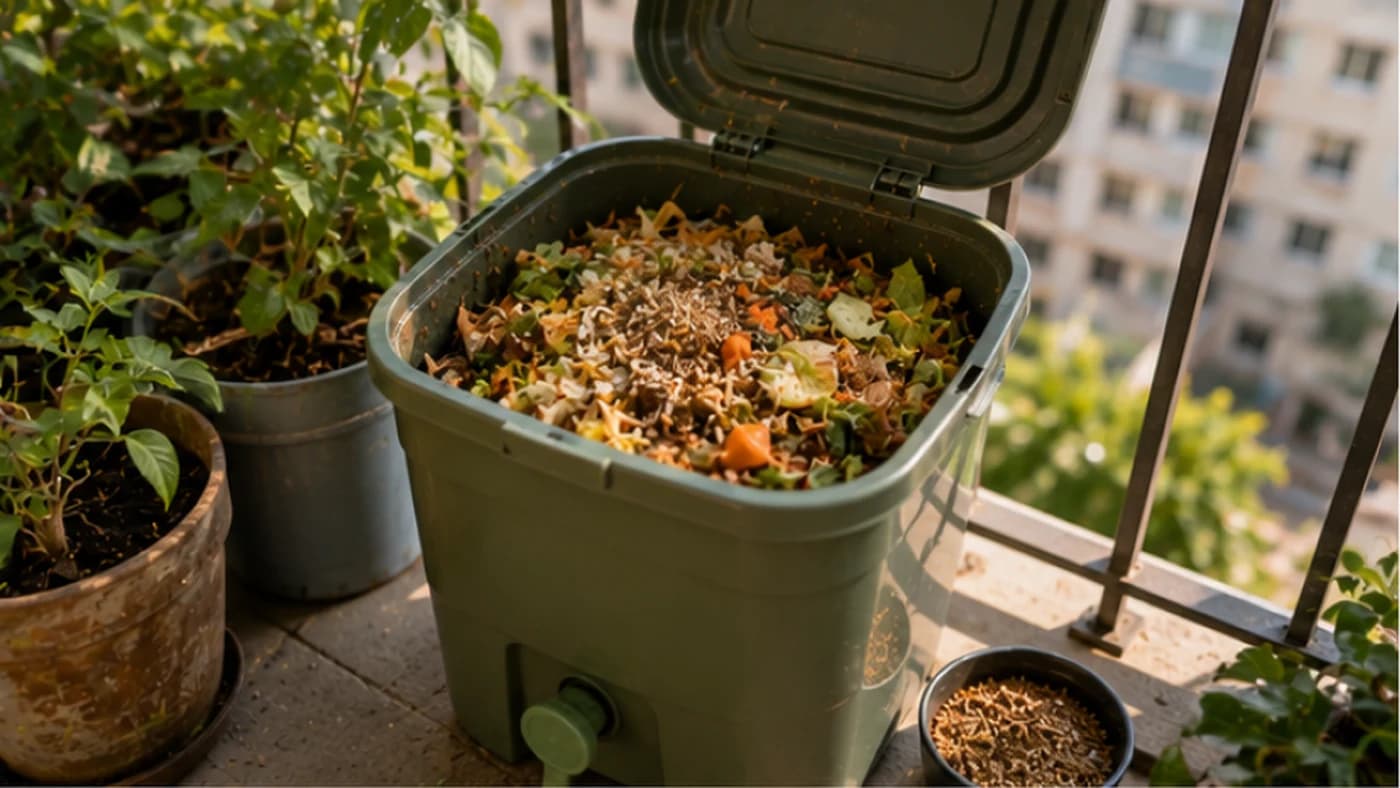
Bokashi Composting for Beginners: Turn Kitchen Waste into Fertiliser in a Flat or Small Home
No yard, no compost pile, no problem. Bokashi ferments kitchen scraps — including cooked food, meat and dairy — in a sealed bucket, working in an apartment, a terrace corner, or under a sink.
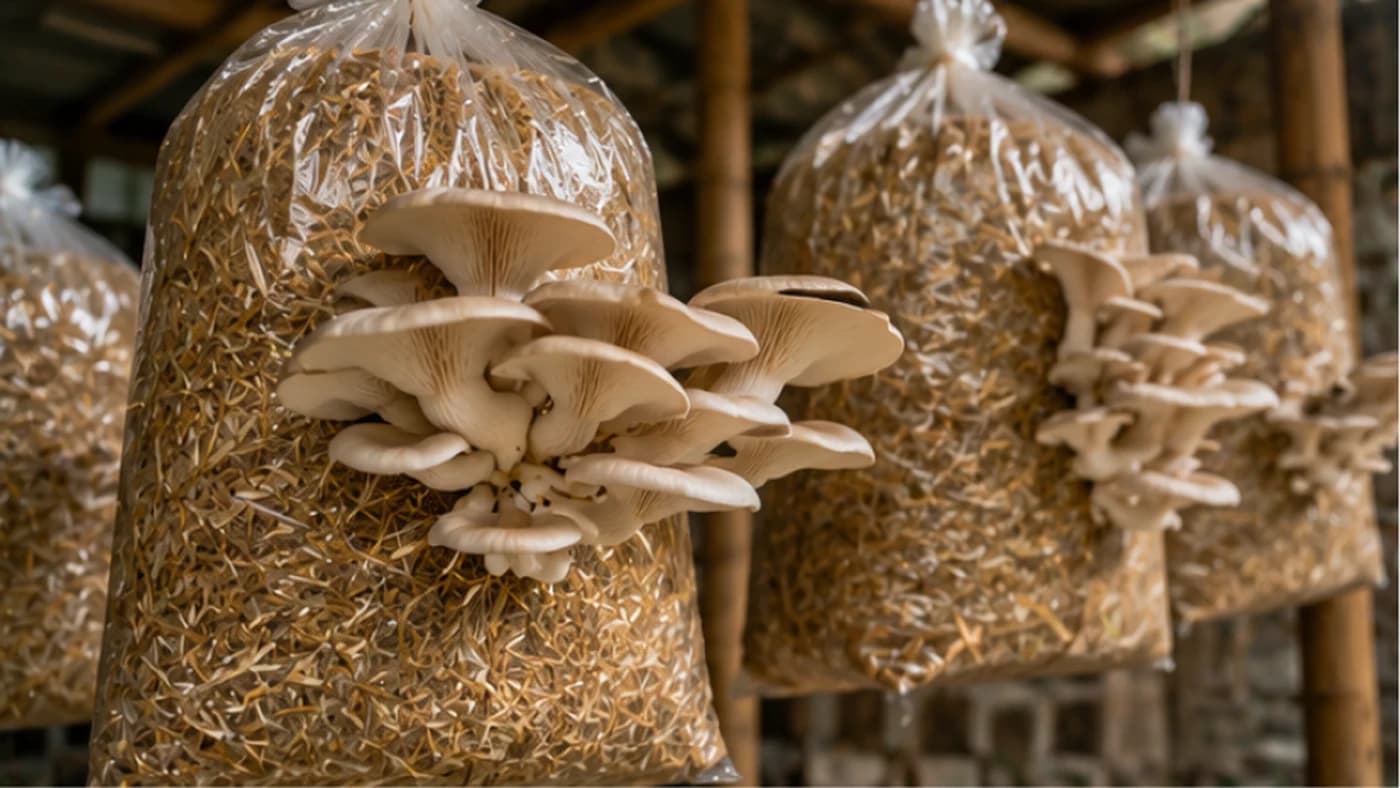
How to Grow Oyster Mushrooms on Straw at Home
A single bundle of wheat or paddy straw can turn into 10-25 kg of fresh oyster mushrooms across a few harvests — using a bucket, a bag of spawn, and space no bigger than a porch corner.
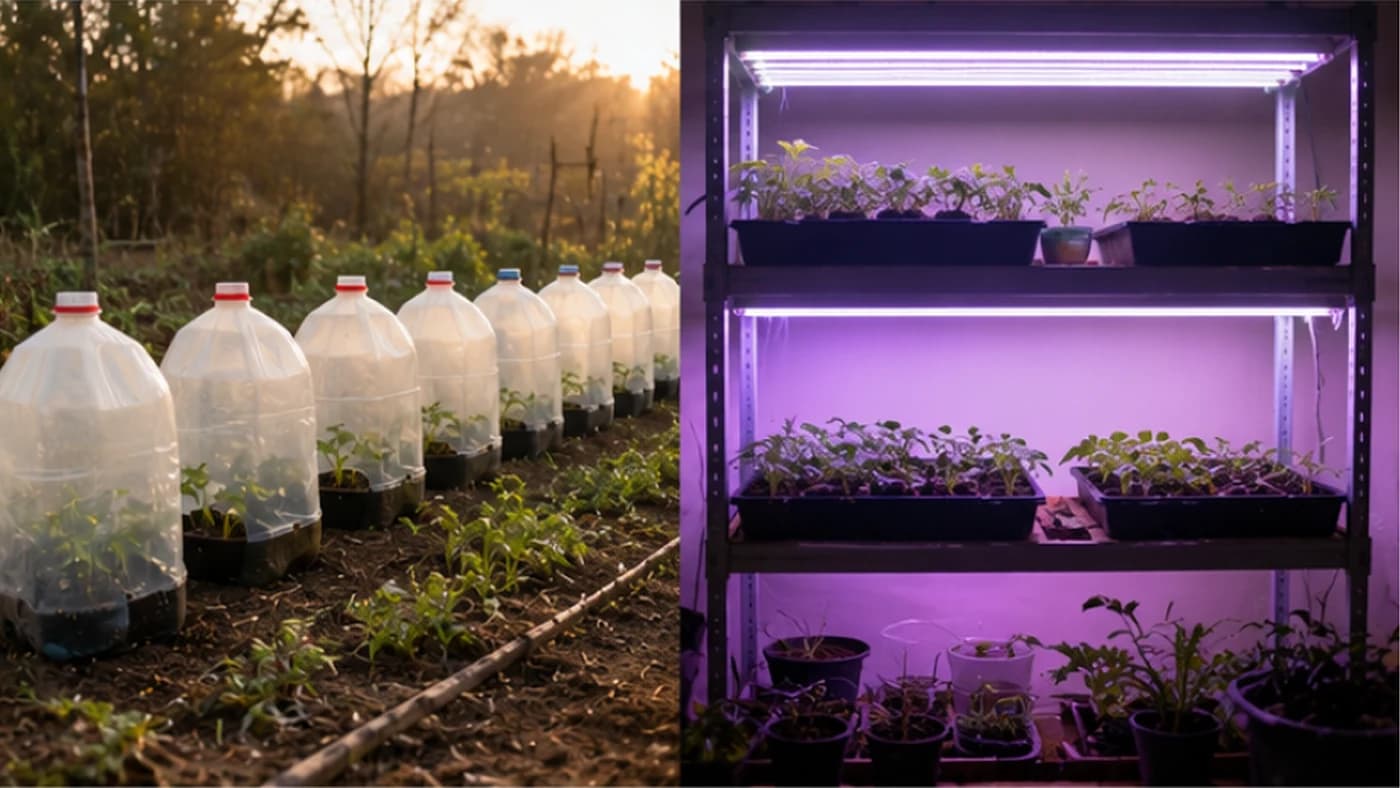
Winter Sowing vs Grow Lights: The Free Way to Raise Hardier Seedlings
Indoor grow lights run for 14-16 hours a day and add up on the electricity bill — and the seedlings they raise are often leggy and need careful hardening-off. Winter sowing in recycled containers outdoors costs almost nothing and produces tougher plants.