

Native Microbial Soil Inoculation: Growing Your Own Living Fertiliser From Forest Soil
A healthy forest has never seen a bag of fertiliser, yet it out-produces most farms. Learn how to capture wild, local microbes from a nearby forest and turn them into a near-free biological fertiliser for your field or garden.
Quick answer
Native microbial soil inoculation is simply the discipline of borrowing biology that already knows how to thrive in your climate, rather than buying a generic substitute from a shop. It costs almost nothing beyond a little patience, jaggery and bran, and in return you get soil that feeds itself, resists disease, and steadily needs less from you every season. If you already practise natural farming methods like jeevamrut, treat this as the next tool in the same toolbox — head to the nearest healthy patch of forest, and bring some of that inherited wisdom home.
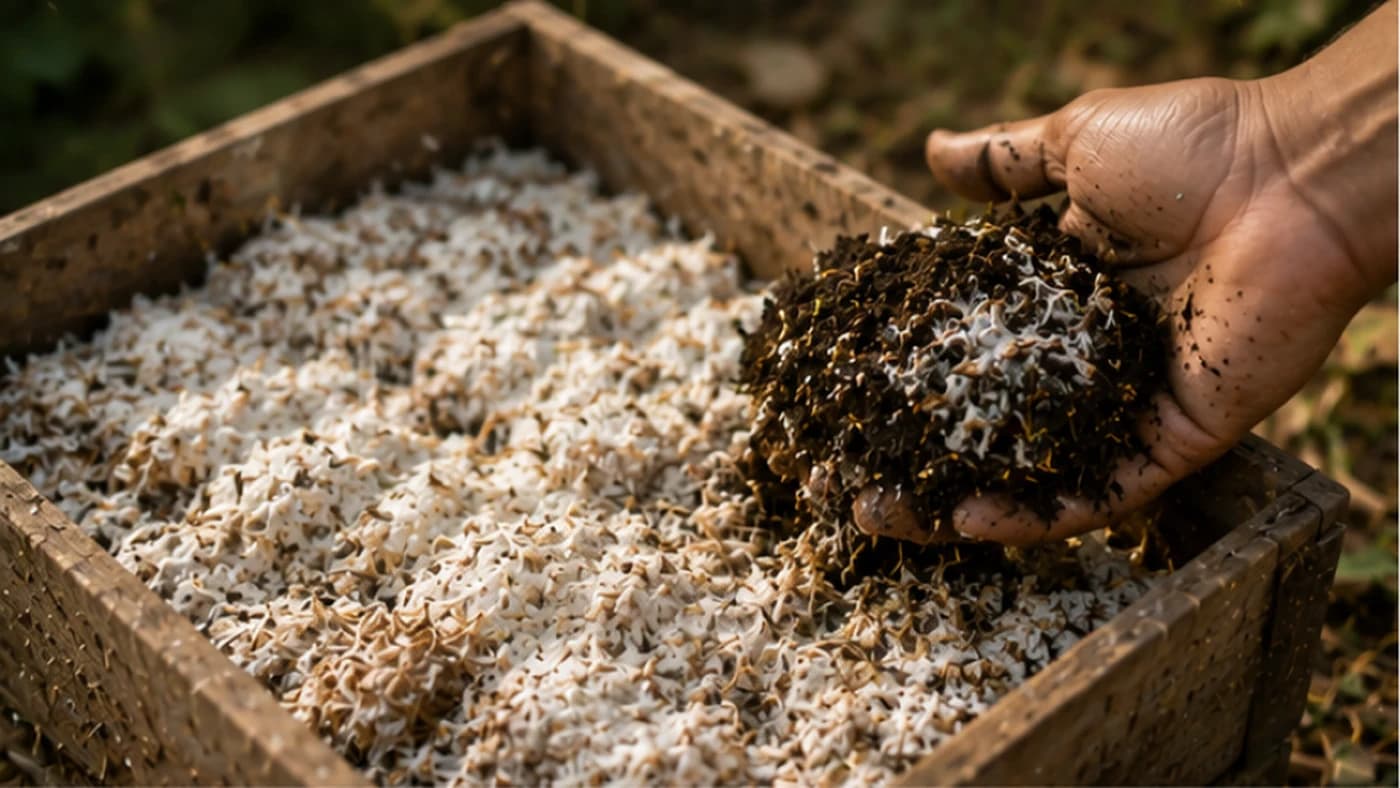
Walk into an old, undisturbed patch of forest and you are standing on soil that has never been fertilised, tilled or sprayed, yet it grows taller, healthier plants than most farms ever will. The secret is underground: a dense, invisible network of fungi, bacteria and other microbes that has spent decades, sometimes centuries, learning exactly how to survive your local climate, your local rainfall and your local pests. Native microbial soil inoculation — often shortened to IMO, for Indigenous Microorganisms — is the practice of borrowing that biology instead of buying a bottle of it from a shop. It comes from the Korean Natural Farming (KNF) tradition of Master Han Kyu Cho, and its underlying idea will feel familiar to any Indian farmer who has heard of Jeevamrut, Beejamrut or the wider zero-budget natural farming (ZBNF) movement: the belief that the cheapest, best-adapted fertility for your land is already living in the soil around you, waiting to be multiplied rather than manufactured.
What native microbial inoculation actually does
Store-bought, sterilised potting soil and heavily chemical-treated fields are often close to biologically dead — safe-looking, but empty, and an empty soil is a vulnerable soil with no competition to keep disease-causing organisms in check. Native microbial inoculation fills that gap. You provide a temporary home for local fungi, bacteria and yeasts to move into, then you preserve them, multiply them in stages, and finally introduce them to your field or garden bed.
These microbes already carry a kind of inherited memory: a colony living under a hundred-year-old banyan or mango tree has survived the same droughts, the same heavy monsoon spells and the same local pests that your crop faces every season. Fungi in particular form partnerships with plant roots, effectively extending those roots outward by many times their normal reach to mine for phosphorus and moisture the plant could never access alone. Bringing this biology into your own soil is less like adding a fertiliser and more like installing the operating system that makes every other input work better.
The five-stage method to cultivate your own IMO
Stage 1 — Collection (IMO-1): prepare a small, breathable wooden or bamboo box and fill it with partially cooked plain white rice, firm rather than mushy. Take it to a nearby patch of healthy, undisturbed forest or a spot with a thick layer of decomposing leaves, dig a shallow hole, place the box inside, and cover it loosely with paper or breathable cloth. Leave it for three to five days until the rice is covered in a thick, white, fuzzy mould — black or green mould means contamination, and you should throw it out and start again.
Stage 2 — Preservation (IMO-2): weigh your rice collection and mix it with an equal weight of jaggery or brown sugar, which draws water out of the mixture and sends the microbes into a dormant, storable state. Keep it in a jar with a breathable lid until it turns into a dark, syrupy liquid — this is your foundation stock.
Stage 3 — Multiplication (IMO-3): mix the IMO-2 liquid with water and a carbon-rich carrier such as wheat bran or rice bran to about 60–70% moisture, then heap it under a straw cover. Watch the temperature closely — if the pile crosses roughly 49°C (120°F) the heat will kill the very fungi you are trying to grow, so turn it daily. After about a week it should be covered in white mycelium and smell like fresh, healthy earth.
Stage 4 — Integration (IMO-4): mix the IMO-3 with an equal volume of soil from your own field, so the microbes acclimatise to your specific ground before you rely on them. Keep this pile covered and moist for another week.
Stage 5 — Final maturation (IMO-5): mix the IMO-4 with a nitrogen source — good-quality compost or farmyard manure — to create a powerful, bio-active fertiliser. Let it mature and cool fully before spreading it on your beds or field.
Why it works so well
The biggest advantage is adaptation: a microbe cultured in a distant lab may not survive a sudden cold snap or a sharp change in your soil's pH, but a microbe collected from the forest down the road already has. A fully colonised soil also leaves very little room for disease-causing organisms to establish themselves, and many native microbes produce their own natural antifungal and antibacterial compounds, offering real protection against problems like root rot and powdery mildew.
Nutrient efficiency improves too — over time you will find you need less fertiliser, because the microbes act as a bridge pulling minerals out of clay and silt and delivering them straight to the plant roots in exchange for sugars, building a closed loop where the soil increasingly feeds itself. And the cost is close to nothing: apart from a little jaggery and bran, every input is essentially free, which is exactly the kind of self-reliance this method is built around.
Common mistakes to avoid
The most frequent error is collecting during heavy rain — excess moisture invites bad bacteria and water moulds that show up as slimy, foul-smelling, black patches instead of the clean white mould you want. Temperature control at the IMO-3 stage is the other common trap: if the pile is allowed to run too hot, it starts to smell of ammonia or looks scorched, meaning the microbes have effectively been cooked, so stay alert and turn the pile the moment it feels hot to the touch.
Also be careful about your collection site. Avoid roadside verges, areas near chemical spraying, or heavily compacted, disturbed ground — you are looking for the healthiest, most undisturbed patch of forest, sacred grove or old orchard you can find, not soil that is itself stressed.
Where this method has real limits
In a heavily built-up urban area, a truly wild, uncontaminated source of microbes can be hard to find — soil near industrial areas or busy roads may carry heavy metals you don't want anywhere near your food. Time is also a real constraint: the full five-stage process takes weeks, not hours, so if you need an immediate fix, a quicker option like jeevamrut or a simple compost tea can bridge the gap while your IMO batch develops.
Extreme dry spells make collection difficult too, since in bone-dry weather the microbes retreat deep underground and won't colonise your rice box — the period just after the monsoon, or the cooler, moister weeks of early winter and spring, tend to give the most reliable results.
Native IMO vs. commercial bottled inoculants
Commercial bottled inoculants: higher recurring cost, a narrow range of perhaps 3–10 lab strains, adaptability limited to whatever conditions the lab assumed, simple pour-and-go use, and often need repeat applications since the strains don't always persist. Native IMO: cost is close to zero beyond jaggery and bran, an extremely wide diversity of thousands of local strains, adaptability that is naturally suited to your exact climate and soil, a bit more skill and patience required to produce, and — done well — colonies that establish permanently rather than washing out after a season.
Practical tips for your first batch
Start small — a single batch the size of a large bucket of IMO-2 can eventually be built up to cover a good-sized plot, and it takes a little practice to judge rice doneness and bran-pile moisture correctly. Use a short-grain white rice that holds its shape rather than turning mushy. Protect your collection box from monkeys, dogs, squirrels and other curious animals with a layer of wire mesh and a covering of leaves. Store your finished IMO-2 in a cool, dark place, never in direct sunlight, since UV light kills many of the very bacteria you are trying to preserve — treat it like a sourdough starter that needs looking after.
Going further: advanced use
Serious practitioners often move on to Liquid IMO (LIMO) — bubbling a portion of IMO-3 or IMO-4 in dechlorinated water with jaggery and a little salt to create a microbial tea that can be sprayed on leaves or run through a drip line. You can also do site-specific collection: if one particular crop, say tomato or brinjal, is struggling, look for a healthy wild relative of that plant nearby and collect microbes from around its roots, since they are likely to be well matched to that crop's specific needs. Scaling this up for a full farm calls for a dedicated, covered IMO shed, since large batches generate real heat and need mechanical turning — but the investment typically pays for itself within a few seasons through lower fertiliser bills and sturdier crops.
A practical scenario: reviving a dead patch of soil
Picture a bed or field corner where nothing grows well — hard, compacted soil, stunted plants, and pests returning every year no matter how much chemical fertiliser goes down. Stop the chemical inputs, collect IMO from the nearest healthy forest patch, and carry it through the five stages until you have a bucket of finished IMO-4. Spread a thin layer over the cleared bed and cover it with a thick mulch of straw or dry leaves. By the next season, the soil is noticeably darker, crumblier and smells like a forest floor; pull back the mulch and you will see white fungal threads running through the dirt. Seedlings planted into that soil stop wilting in the afternoon heat, because for the first time they have a living support system underground pulling in water and holding pests and disease at bay.
Frequently asked
What is native microbial soil inoculation (IMO)?+
It is the practice of collecting beneficial fungi and bacteria from a healthy, undisturbed local ecosystem, multiplying them through a five-stage process, and adding them to your soil to build fertility and disease resistance naturally.
How is this related to India's zero-budget natural farming?+
IMO comes from the Korean Natural Farming tradition, but it shares the same core idea as jeevamrut and beejamrut in India's ZBNF movement — that the best-adapted, cheapest fertility for your land is already living in the soil around you.
How long does it take to make a usable batch?+
The full five stages typically take three to four weeks from collection to a finished, spreadable product. For an immediate need, a quicker input like jeevamrut or compost tea can bridge the gap.
What is the biggest mistake beginners make?+
Letting the multiplication pile (Stage 3) overheat. If it crosses about 49°C the beneficial fungi die, so check it daily and turn it as soon as it feels hot to the touch.
Where should I collect the microbes from?+
The healthiest, most undisturbed forest patch, old orchard or sacred grove you can find — avoid roadside verges, areas near chemical spraying, and heavily compacted or polluted ground.
Where to go next
Want this as daily tasks for your farm?
Khetiyaar turns guides like this into a day-by-day plan — in your language, free to start.

Related guides
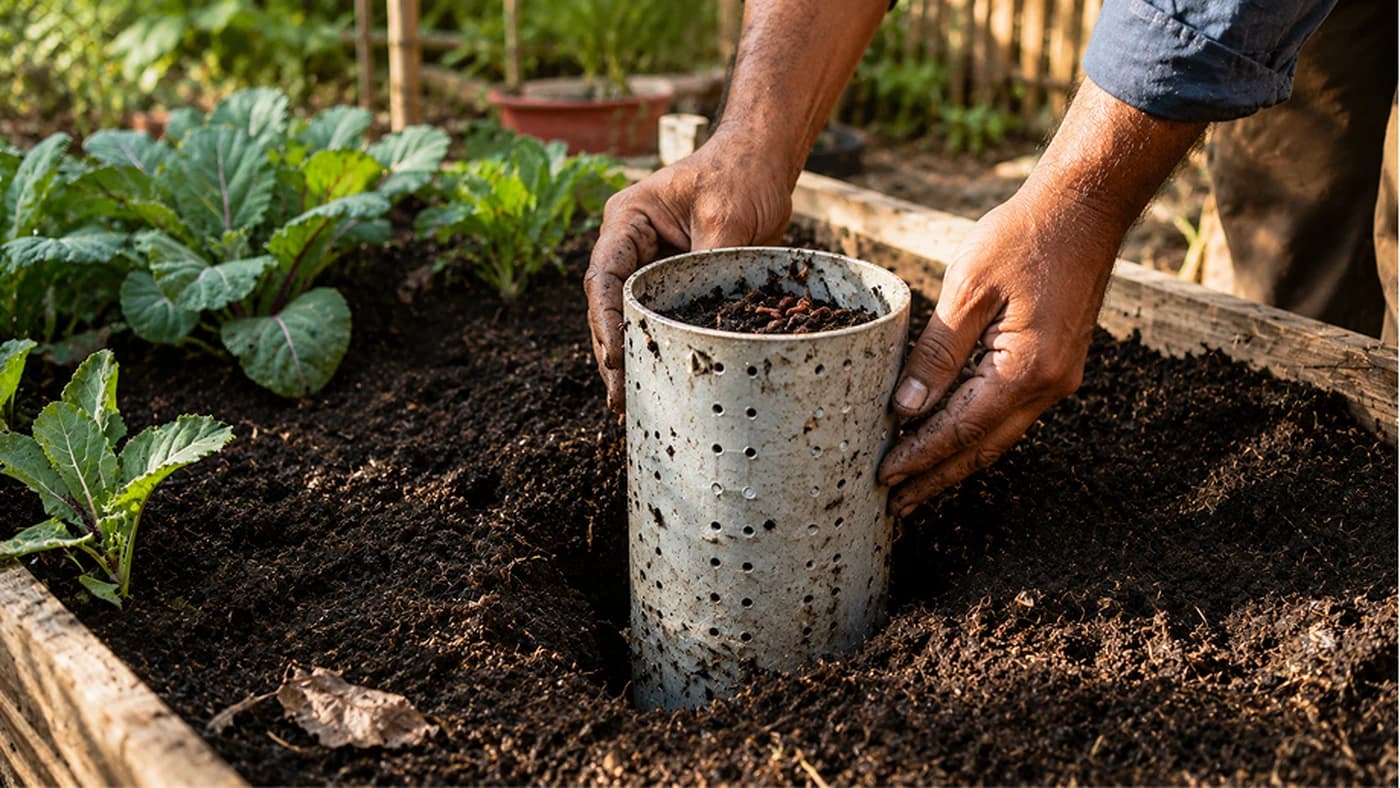
How to Build a Garden Worm Tower for Free, In-Bed Composting
Stop hauling kitchen scraps to a distant bin and hauling compost back months later. A buried worm tower lets worms process waste right where your plants are growing.
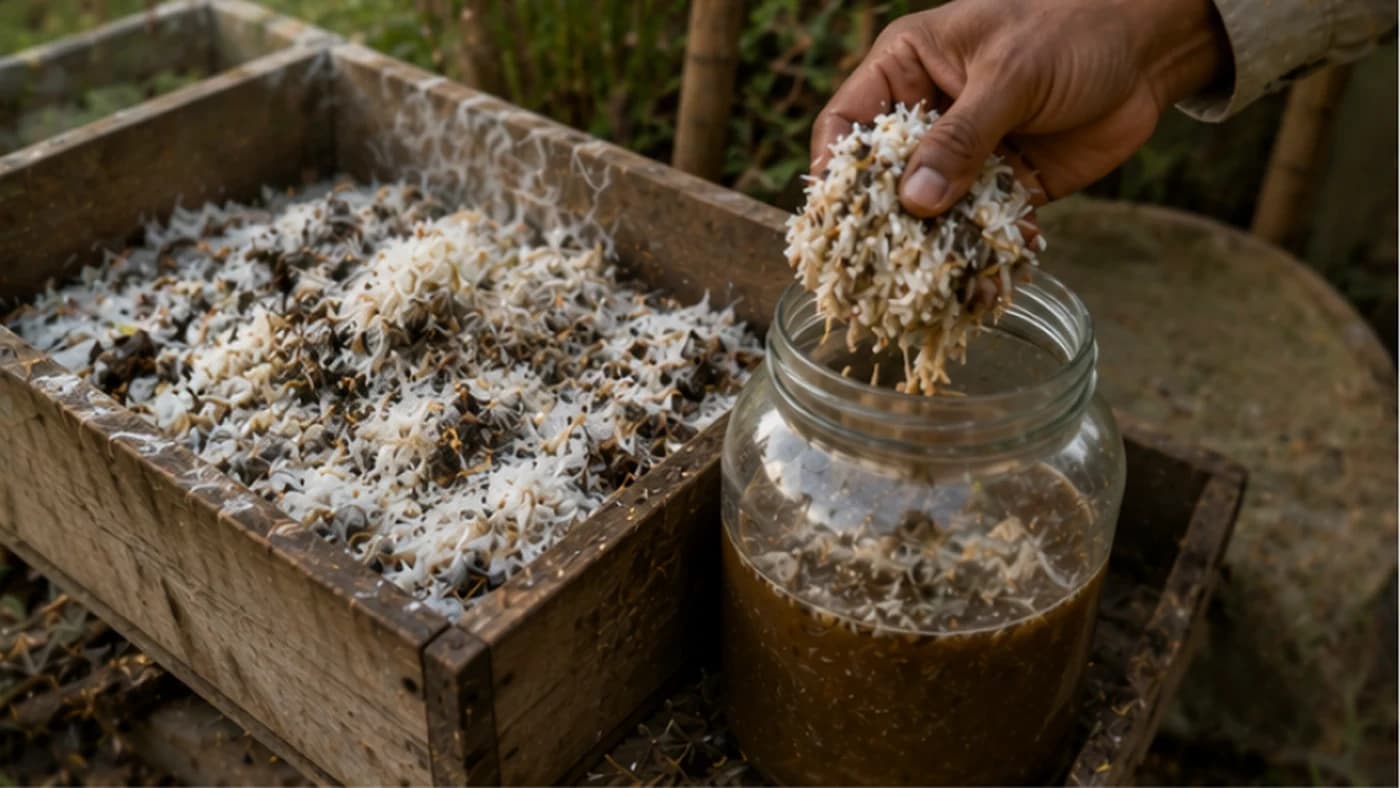
Indigenous Microorganisms (IMO): Turn Your Own Land Into Living Soil
Store-bought soil is often biologically dead and needs constant chemical feeding. Indigenous Microorganisms — the same idea behind Korean Natural Farming and India's own Zero Budget Natural Farming — let you capture your local forest's microbes and turn any field or garden bed into a self-sustaining biological engine.
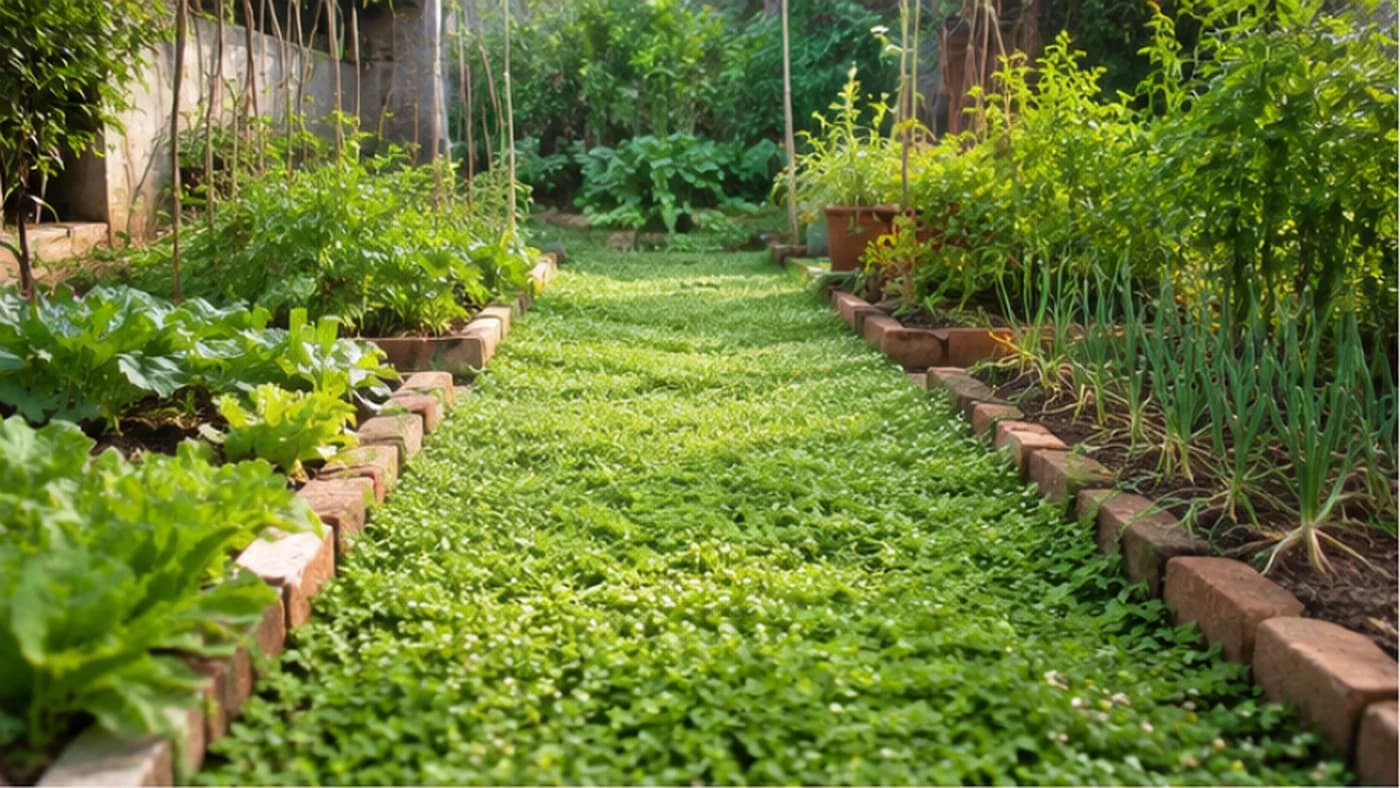
Living Garden Paths: Groundcover Walkways That Feed Your Beds Instead of Baking Them
Bare dirt or concrete paths turn into heat islands that bake nearby roots. A living groundcover path — clover, dwarf peanut, or creeping herbs — stays far cooler, feeds the soil with nitrogen, and heals itself when you walk on it.