

Continuous Flow-Through Worm Bins: Vermicompost Without the Digging
A standard worm bin means digging through half-finished waste to separate worms from compost. A continuous flow-through bin does that job with gravity instead — feed from the top, rake finished vermicompost off the bottom, and the worms are never disturbed.
Quick answer
A continuous flow-through worm bin trades a bit of extra building effort for a lot less ongoing labour: feed from the top in thin layers, keep moisture at a steady damp-sponge level, and harvest a few centimetres of finished castings from the bottom every few months without ever digging through the whole bin or hand-sorting worms. It needs more vertical space than a simple tub, so it suits a yard or a dedicated vermicompost setup better than a small balcony — but for anyone producing vermicompost regularly, whether for their own fields or as a small enterprise, it turns a messy periodic chore into a clean, ongoing habit.
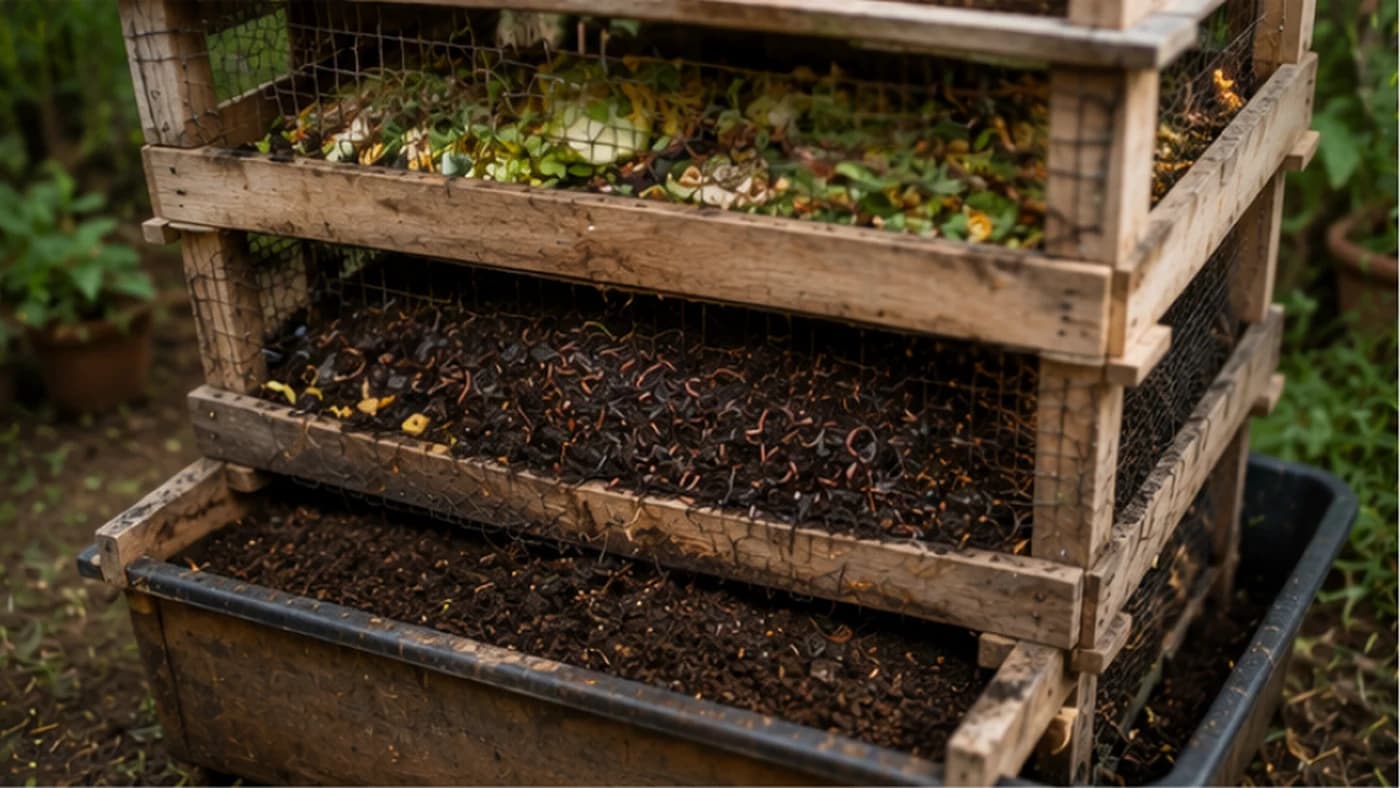
Vermicompost is one of the most widely recommended organic inputs for Indian farms and kitchen gardens, and a good number of state horticulture and agriculture departments support setting up small vermicompost units. The usual bin, though, is a batch system: you fill it, wait months, then dump the whole thing out and hand-sort worms from finished compost — messy, slow, and disruptive to the worms every time. A continuous flow-through (CFT) bin solves this with one simple biological fact: composting worms naturally live and feed in the top few inches of material, always moving upward toward fresh food, while their castings settle and compact below. Feed from the top, harvest from the bottom, and the worms themselves are barely touched.
Why a flow-through design works
Red wigglers (Eisenia fetida) — the same species already recommended for vermicompost across India — are surface-dwellers by nature, living in the top layer of decomposing matter rather than burrowing deep. In a CFT bin, fresh waste and bedding go in at the top; as microbes and worms process it, the worms keep migrating upward to the newest food, while the material beneath gradually turns into dense, dark, finished vermicompost. Because the worm population stays concentrated near the surface, the bottom layer — usually a good 15-20 cm down — ends up largely worm-free and ready to harvest with very little sorting.
Building the bin
Depth matters more than any other design choice: aim for at least 60 cm total depth so there's a proper separation between the active feeding zone at the top and the harvest zone at the bottom. The floor should not be solid — a grid of PVC pipes, metal rods or a stiff mesh, spaced roughly 4-5 cm apart, supports the weight of the compost while letting air move up from below, which is what keeps the whole system aerobic and odour-free. Line the very bottom with a layer of cardboard or old sacking at the start (it will rot away by the first harvest), sit the bin on legs or blocks with a catch tray or simply a clean patch of ground underneath, and use untreated wood, brick or breathable sacking for the bin walls rather than sealed plastic.
Starting the bin
Begin with at least 20 cm of good bedding — a roughly 50:50 mix of coco peat (widely available in India) and shredded dry paper or cardboard, moistened until a squeezed handful yields only a couple of drops of water, not a stream. Add your worms to the top and let them settle for a few days before the first real feeding. Red wigglers are the standard choice for exactly this system, thanks to how fast they reproduce and how strongly they favour the surface; roughly 0.5 kg of worms per square metre of bin surface is a reasonable starting stock.
Feeding and moisture — the two things to get right
The single most common mistake is overfeeding: add food in thin layers no more than 2-3 cm thick at a time, because a thick pile of fresh scraps can heat up as it breaks down, and if the pile gets too hot the worms will either flee or die. Every layer of kitchen scraps should be covered with a layer of dry, carbon-rich bedding — shredded leaves, paper or cardboard — both to balance the mix and to physically block flies from reaching exposed food. Moisture is the other constant: worms breathe through their skin and need consistently damp (not wet) conditions, so aim for that same squeeze-test dampness throughout; if liquid is regularly dripping from the bottom, add a layer of dry shredded cardboard on top to pull the excess moisture back into balance.
Harvesting — the actual advantage of this design
The first harvest is usually ready after four to six months, once the starting cardboard liner has broken down and a firm layer of dark, crumbly castings sits on the bottom grid. To harvest, simply rake or scrape a couple of centimetres of material through the gaps in the floor grid into a tray or clean patch below — take only a small amount at a time so the rest of the column stays undisturbed and the worms remain active in the feeding zone above. Finished castings should look dark and crumbly with very few worms mixed in; if you're pulling out a lot of worms with your harvest, it usually means the bottom is too wet or the top hasn't finished processing yet.
Common problems and how to fix them
Compaction is the main enemy of a flow-through bin — if material gets too wet, it can set into a dense, brick-like block that resists harvesting, especially near the walls where airflow is weakest; break up any hard clumps and mix in dry bedding to restore looseness. A strong ammonia or rotten-egg smell means an anaerobic pocket has formed, usually from overfeeding with high-moisture scraps — remove the undigested material and fluff the top layer to let air back in. Fruit flies and mites are drawn to exposed food, so always bury fresh scraps under bedding; a light dusting of crushed eggshells on top also helps keep the pH from swinging too acidic, which is what usually triggers a mite bloom.
Where this design doesn't fit
A flow-through bin needs real vertical space — at least 60 cm of bin height plus room underneath for harvesting — so it isn't a good fit for a cramped balcony or a very small apartment setup; a simpler stacked-tray bin suits those spaces better. It's also more exposed to outside temperature than a sealed plastic tub, since the open bottom and taller profile give it less built-in insulation, so in a very hot, dry season keep a closer eye on moisture, and in a genuinely cold spell provide some shelter or insulation around the bin.
Batch bin vs. stacked trays vs. flow-through
- Batch bin (a single tub or drum): heavy manual sorting to separate worms from compost; worms disturbed significantly at each harvest; lowest upfront cost; simplest to build.
- Stacked trays: moderate labour lifting and shifting trays; moderate disturbance; moderate cost; works reasonably well in tighter spaces.
- Continuous flow-through: harvest by gravity with minimal sorting; worms barely disturbed; higher upfront building cost and needs more vertical space; scales well if you want to grow the operation.
Practical tips
Always do the squeeze test before adding water — a handful of material should feel like a damp sponge and release only a drop or two when squeezed, not run wet. Freezing kitchen scraps before adding them kills fly larvae and softens the material's cell structure, making it easier and faster for the worms to process. Moisture tends to build up near the walls before the centre, so water or mist toward the middle of the bin rather than the edges to keep worms active where the food actually is. And always keep a thick top layer of dry shredded paper or straw in place — it keeps pests out and the active feeding layer properly dark and moist.
Scaling up
If you're running this as a small income-generating enterprise rather than just a household bin — a genuinely viable option, and one that a number of state schemes support with subsidies for vermicompost units — pre-composting your bedding and scraps in a separate pile for a couple of weeks before adding them to the bin lets the initial heat-generating phase happen outside the worm system, so material reaching the worms is already safe and can be applied in thicker layers, speeding up throughput considerably. Keep a small stock of crushed eggshells or agricultural lime on hand to sprinkle over the surface periodically, since a large active bin tends to drift acidic over time and needs occasional correction to stay in the ideal range.
Terms explained in this guide
Frequently asked
How is a continuous flow-through bin different from a normal worm bin?+
A normal (batch) bin is filled once, left to finish, then entirely emptied and hand-sorted. A flow-through bin is fed continuously from the top while finished vermicompost is harvested from the bottom, so it never needs to be fully emptied and worms are barely disturbed.
How deep should a flow-through worm bin be?+
At least 60 cm, so there's a clear separation between the active feeding zone near the top and the harvest zone at the bottom, which usually sits 15-20 cm down and stays largely free of worms.
How often can I harvest vermicompost from this design?+
The first harvest is usually ready in four to six months. After that, you can harvest a small amount — a couple of centimetres — every few weeks to months, depending on how quickly material is moving through the bin.
What's the most common mistake with these bins?+
Overfeeding — adding food in thick layers instead of thin ones. This can cause the pile to heat up as it decomposes, which drives worms away or kills them. Feed in layers no more than 2-3 cm thick and always cover with dry bedding.
Is this design suitable for a small apartment balcony?+
Not really — it needs real vertical space, at least 60 cm of bin height plus room to harvest underneath. A stacked-tray worm bin is a better fit for tight balcony spaces.
Where to go next
Want this as daily tasks for your farm?
Khetiyaar turns guides like this into a day-by-day plan — in your language, free to start.

Related guides
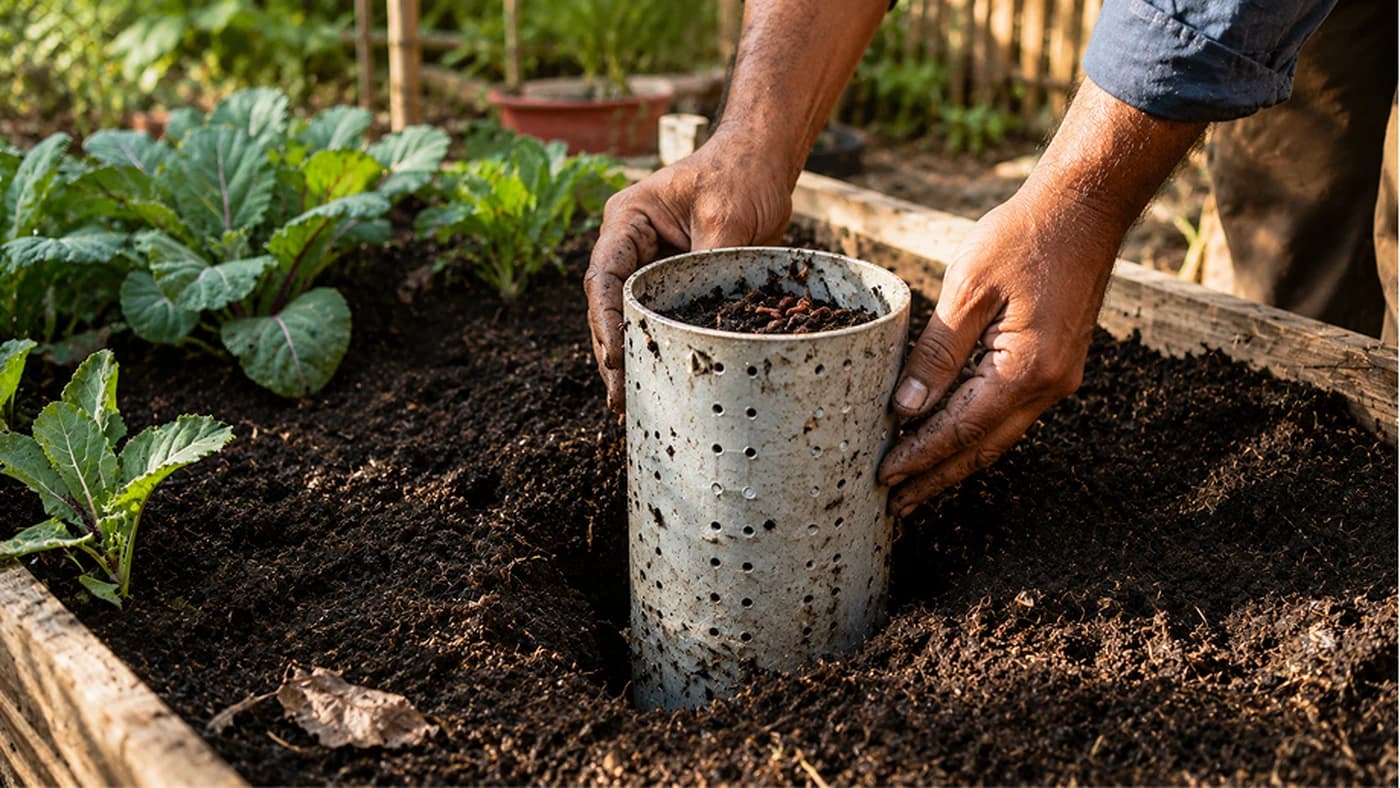
How to Build a Garden Worm Tower for Free, In-Bed Composting
Stop hauling kitchen scraps to a distant bin and hauling compost back months later. A buried worm tower lets worms process waste right where your plants are growing.
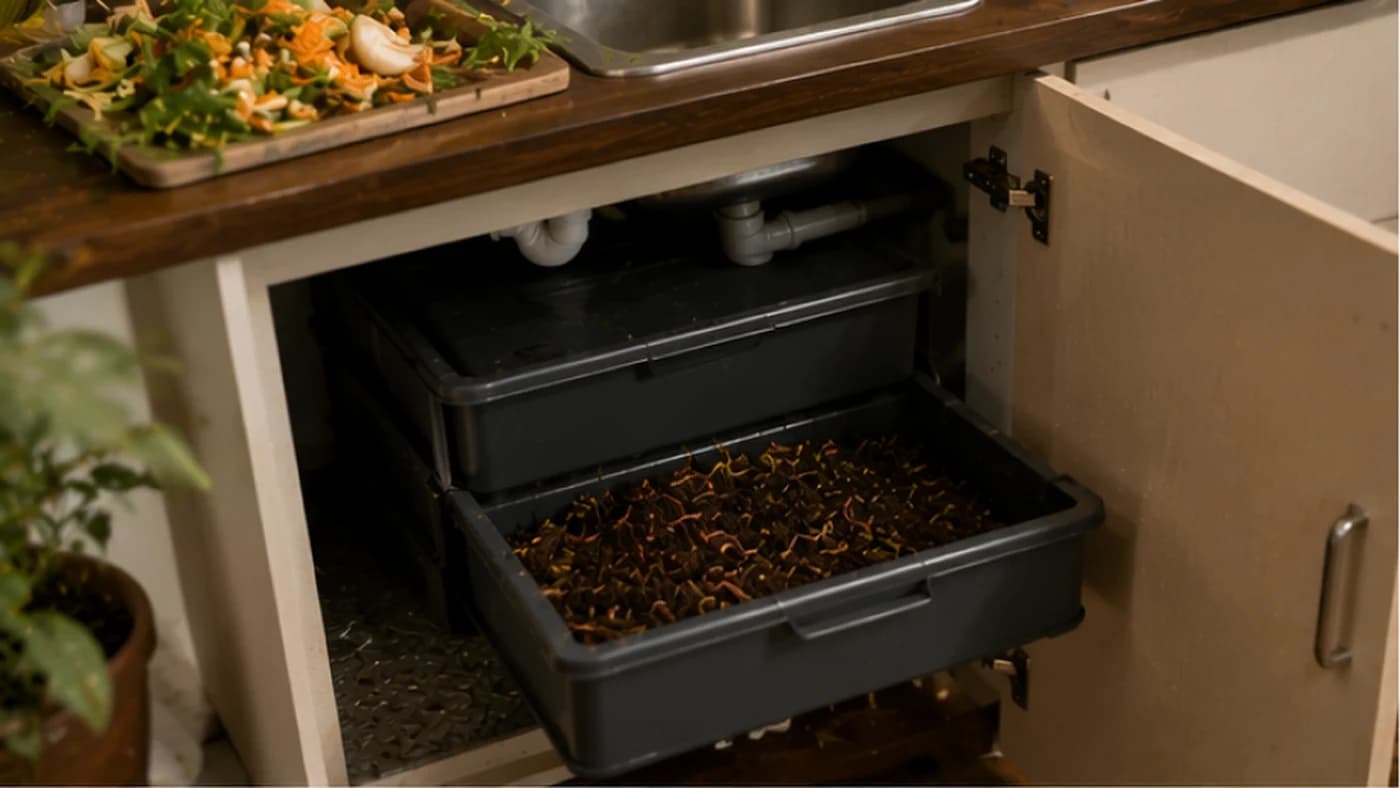
DIY Under-Sink Worm Composter: Turn Kitchen Wastewater Into Fertiliser
Instead of sending fats, food particles and nutrients straight to the drain, an under-sink worm filter turns your daily dishwater into a steady drip of liquid fertiliser for the garden.
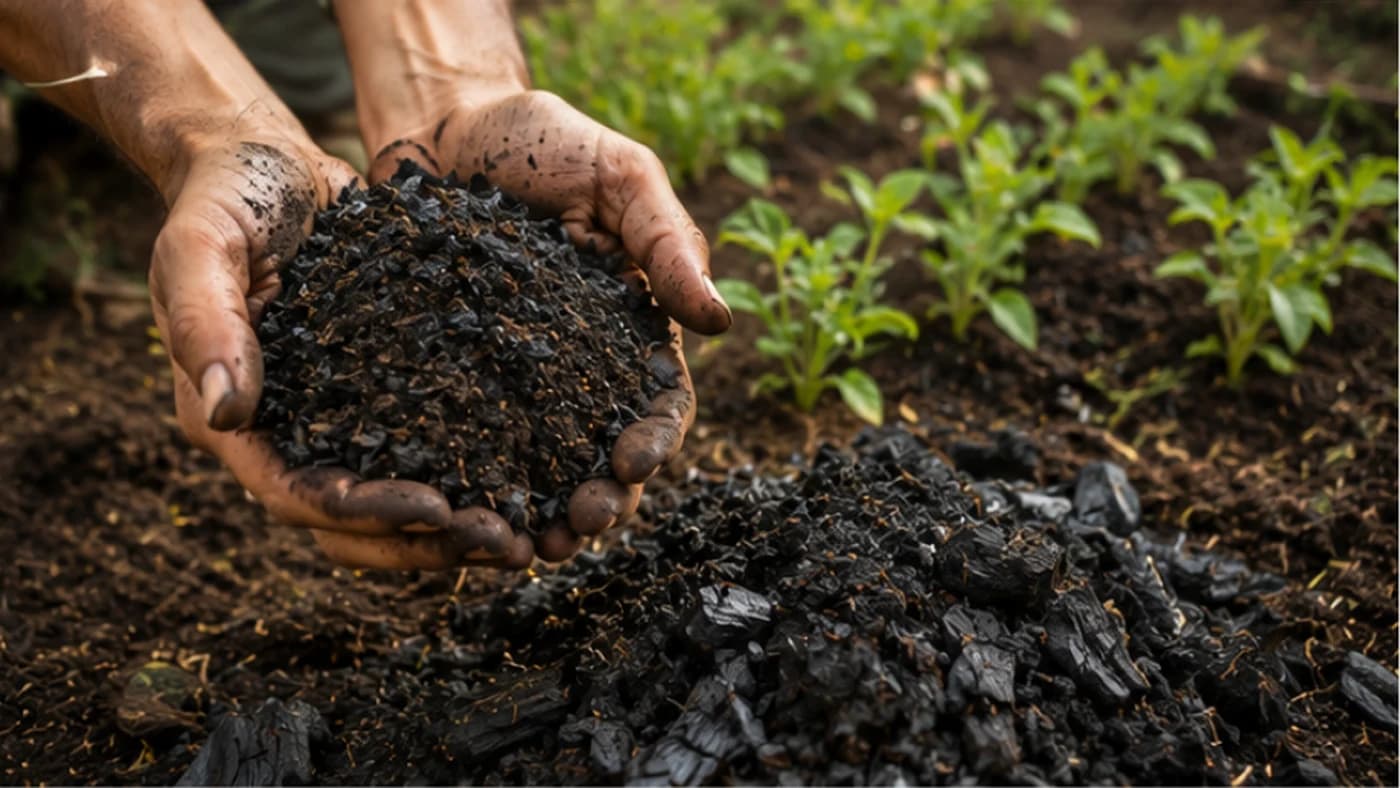
Terra Preta: The 2,000-Year-Old Soil That Gets More Fertile With Age
Ancient Amazonian farmers built soil that is still 10x more fertile than the surrounding land 2,000 years later — using biochar, organic waste and minerals. Here's how to build a modern version in your own field.