

Deep Litter Method: Turn Your Chicken Coop Into a Living Compost System
A scrubbed, bare coop floor is a wasted opportunity. Let a thick carbon bed and billions of microbes do the composting for you — less labour, healthier birds, and free fertiliser for the field.
Quick answer
The deep-litter method turns your coop floor from a chore into a working compost system: a thick bed of dry carbon material, kept slightly damp and well-aerated, absorbs manure, cuts odour and cleaning labour, and rewards you with rich fertiliser for the field. Get the carbon depth and balance right, watch for wet spots and overcrowding, and let your birds do most of the mixing for you.
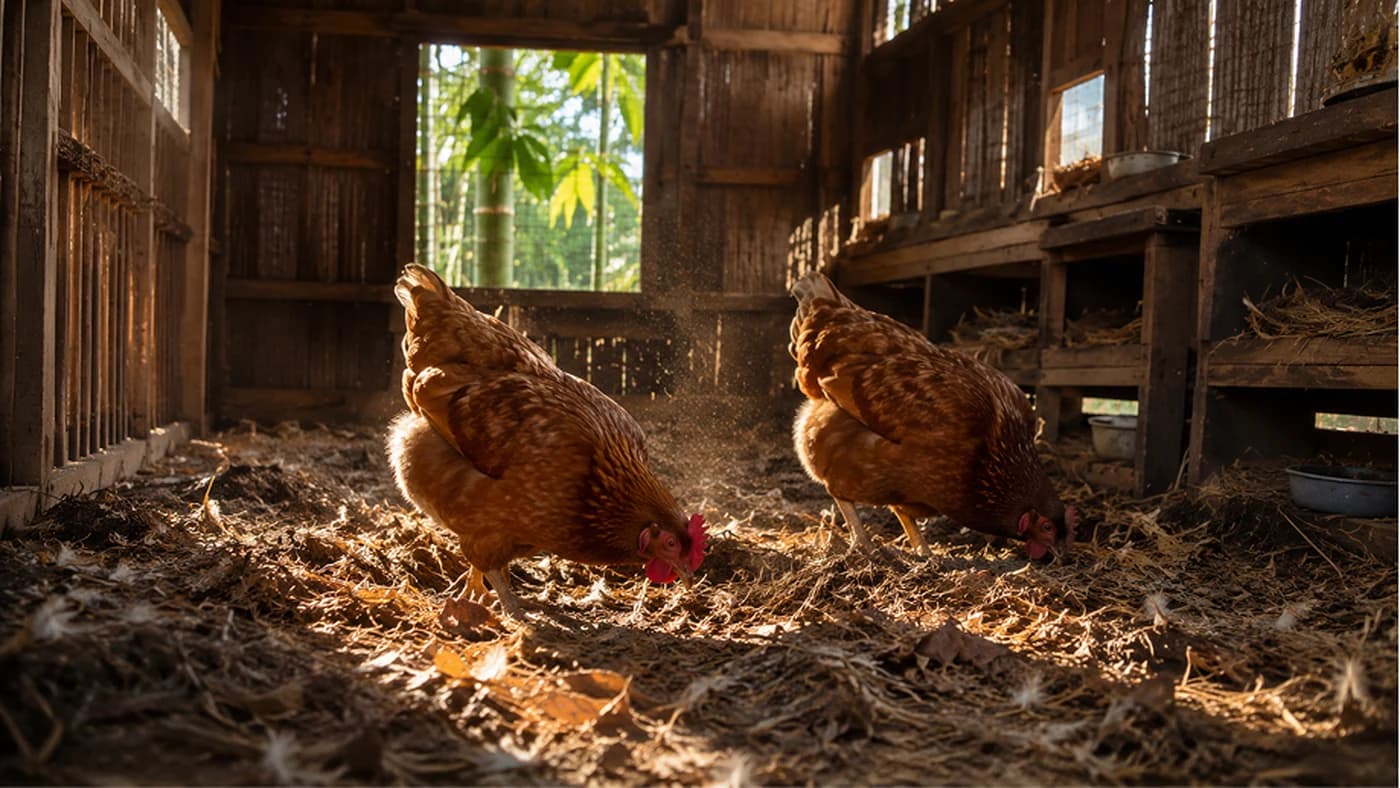
Most poultry keepers were taught that a clean coop means a bare, scraped floor washed down every week. That habit creates more work for you and gives nothing back. A living, deep-litter floor works the opposite way: a thick bed of carbon-rich material becomes home to billions of beneficial bacteria and fungi that break down droppings in place, the same way a forest floor quietly processes falling leaves. Instead of fighting the manure your birds produce every day, you feed it to a biological system that turns it into rich compost while keeping the coop dry and nearly odour-free.
Why a bare floor works against you
Chicken droppings are extremely high in nitrogen. Left on a bare floor, they release ammonia gas, which irritates birds' lungs and eyes and makes them more prone to respiratory disease. A deep-litter floor solves this by burying that nitrogen under a much larger volume of carbon — dry leaves, straw, rice husk, sawdust, or wood shavings — so the two balance out. A normal compost heap works well at a carbon-to-nitrogen ratio of about 30:1, but a coop floor, where fresh manure is added daily, needs a much richer carbon load, often 50:1 or more, to keep every bit of nitrogen bound up before it can turn into ammonia.
The three things the system needs
Carbon is the foundation — a layer at least 15 to 30 cm deep of dry leaves, straw, rice husk, groundnut shells, or wood shavings (avoid resinous woods, which can irritate birds' lungs). Oxygen keeps the process aerobic instead of rotten; your birds do most of this work themselves by scratching and pecking through the litter, but a weekly turn with a fork or khurpi helps in quiet corners. Moisture should feel like a wrung-out cloth — damp, never soggy. Too dry and decomposition stalls; too wet and it turns into a smelly, matted mess, usually because a waterer is leaking into the bedding.
How to set up a living floor
Clear out any old, matted bedding down to a dry base (bare earth, dry wood or dry concrete). Spread at least 15 cm of dry, carbon-rich material across the floor. Seed the new bedding with a few handfuls of finished compost or healthy garden soil to introduce the right microbes from the start. Let your birds in — as they roost at night and scratch during the day, they add manure and mix it into the litter naturally. Every few weeks, or whenever the surface starts to look soiled, top it up with another 5 cm of fresh carbon material; over a year the floor will slowly rise in height. Avoid using straw or hay as the sole material if you can help it — both are relatively nitrogen-rich and tend to mat down and trap moisture; mix them with drier, more absorbent material like rice husk or dry leaves.
What you get in return
Labour drops sharply: instead of a weekly deep clean, most keepers only do a full clean-out once or twice a year, adding a thin top-up in between. As the litter breaks down it also generates B-vitamins and beneficial microbes that birds pick up while scratching, supporting a stronger gut and immune system. In cooler regions — hill states, Punjab and north Indian winters — a thick, active litter bed generates gentle heat from decomposition, keeping the coop several degrees warmer than the outside air without any heat lamp. In most of India's warmer climate this heating effect matters less than good ventilation and moisture control, which remain the priority year-round. And the material you eventually remove is not raw manure but nearly finished compost, safe and ready (after a short curing period) to feed fruit trees, vegetable beds, or field crops.
Common mistakes that cause a smelly coop
If you can smell ammonia before you even see the coop, the carbon-to-nitrogen balance has slipped — add more dry bedding immediately. Wet patches, usually under waterers or leaking roofs, turn anaerobic fast and can breed disease; remove soaked litter and replace it with dry material right away. Overcrowding overloads the system — aim for at least 0.35 to 0.4 square metres of floor space per bird so the microbes can keep up with the manure load. Poor ventilation is a serious error too: decomposition releases moisture, and if it can't escape through vents near the roof, it condenses and drips back down, creating a damp, disease-prone coop.
When this method isn't a good fit
Small, raised or pre-fabricated coops with shallow trays don't have the depth for a true living floor and are better suited to frequent cleaning instead. Low-lying coops where water pools after rain will turn the litter into a waterlogged mess rather than compost — fix drainage first. And if your flock currently has a respiratory illness or heavy parasite load, clear the infection with a thorough clean and disinfection before starting a living floor; this method is for maintaining a healthy flock, not treating a sick one.
Practical tips that make it work
Do a daily sniff test — a coop with a healthy litter bed smells like a forest floor, faintly earthy, never sharp. If you have access to biochar (charred husk or wood), mixing a layer into the litter gives microbes more surface area to live on and helps lock in nitrogen, cutting odour further. Free, local carbon sources work just as well as bought ones — dry leaves, rice husk from a local mill, or sawdust from a carpenter are all excellent and cost nothing. Keep chemical dusts and strong pesticide powders out of the litter itself, since they kill the same beneficial microbes and mites you're trying to build up; use them directly on birds or in a separate dust-bath area instead.
For the more experienced keeper
Concentrated liquid microbial cultures (similar in spirit to the fermented microbial brews used in natural farming) can be diluted and sprayed onto the litter occasionally to speed up decomposition and cut odour further. When you do a full annual clean-out, don't scrape the floor bare — leave the bottom 2 to 3 cm of old, finished litter in place. This 'starter culture' immediately inoculates the fresh bedding you add on top, so the system doesn't have to build up its microbe population from zero again. White, thread-like growth (fungal mycelium) appearing in the lower layers is a good sign, not a problem — it means the system is actively and efficiently breaking down tough plant fibre.
Frequently asked
How deep should the litter be in a deep-litter chicken coop?+
Start with at least 15 cm of dry carbon material (leaves, rice husk, straw or wood shavings) and top it up every few weeks with another 5 cm as needed; over a year it can build up to 25-30 cm.
Why does my coop smell of ammonia?+
Ammonia smell means there is too much nitrogen (manure) relative to carbon (dry bedding). Add more dry bedding right away and check that the floor isn't waterlogged.
Is the deep-litter method suitable for India's climate?+
Yes, though in most of India's warm climate the main benefit is odour and labour reduction rather than winter heating — focus on ventilation and moisture control year-round. In hill regions and north Indian winters, the heat it generates is a genuine bonus.
How much space does each bird need for this method to work?+
Aim for at least 0.35 to 0.4 square metres of floor space per bird so the litter isn't overloaded with manure.
Can I use the old litter as fertiliser?+
Yes — after a short curing period outside the coop, finished deep litter is close to compost and works well on fruit trees, vegetable beds and field crops.
Where to go next
- AI farming chatbotAsk any farming question in Gujarati, Hindi or English and get an answer in seconds.
- Kheti app for Indian farmersCrop plans, disease diagnosis, weather and mandi rates in one app.
- Agri Bazar marketplaceBuy and sell animals, crops, equipment and dairy near you — and see what buyers want today.
Want this as daily tasks for your farm?
Khetiyaar turns guides like this into a day-by-day plan — in your language, free to start.

Related guides
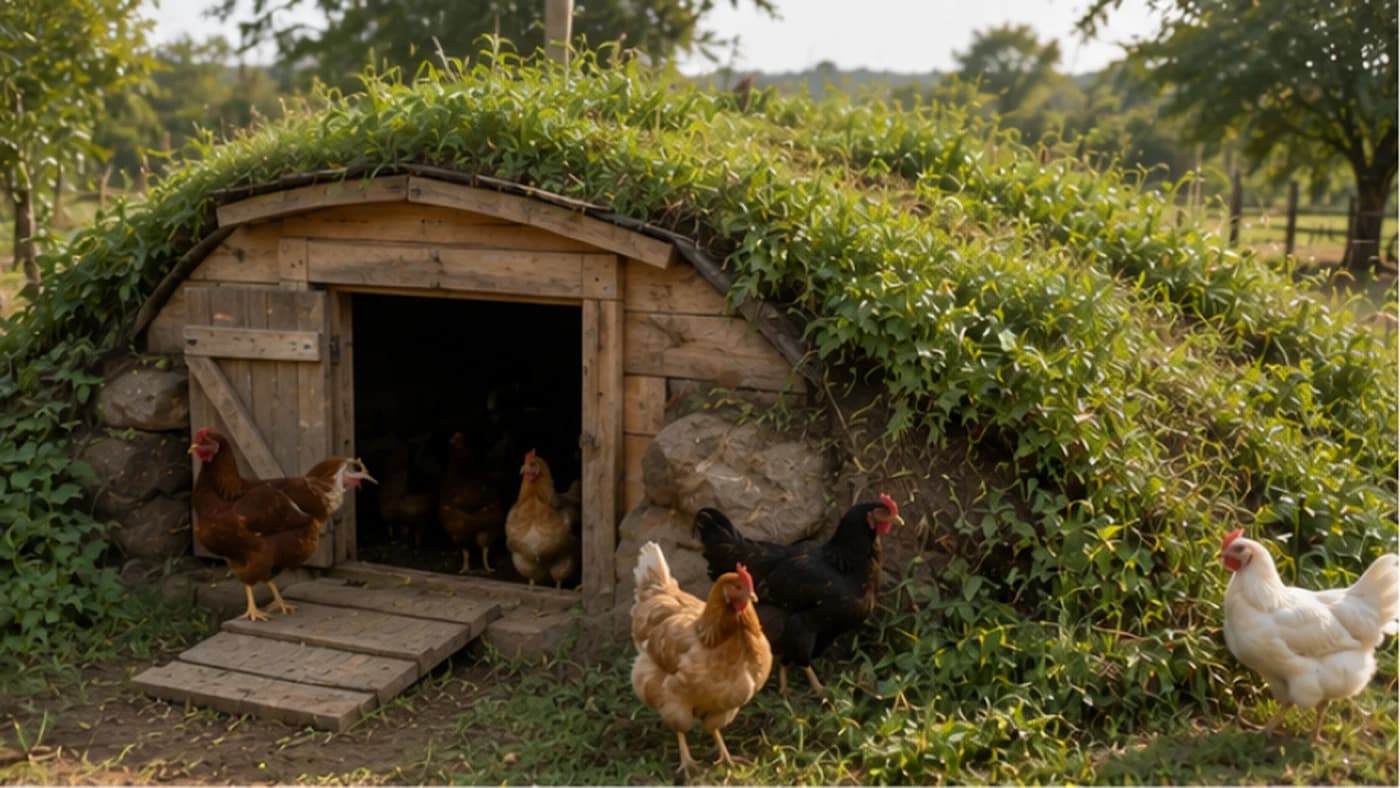
Earth-Sheltered Chicken Coop: Using the Ground to Keep Birds Cool in Summer and Warm in Winter
A coop built partly into the ground barely changes temperature between a 45°C afternoon and a cold winter night. Here's how earth-sheltering works and how to build one for your flock.
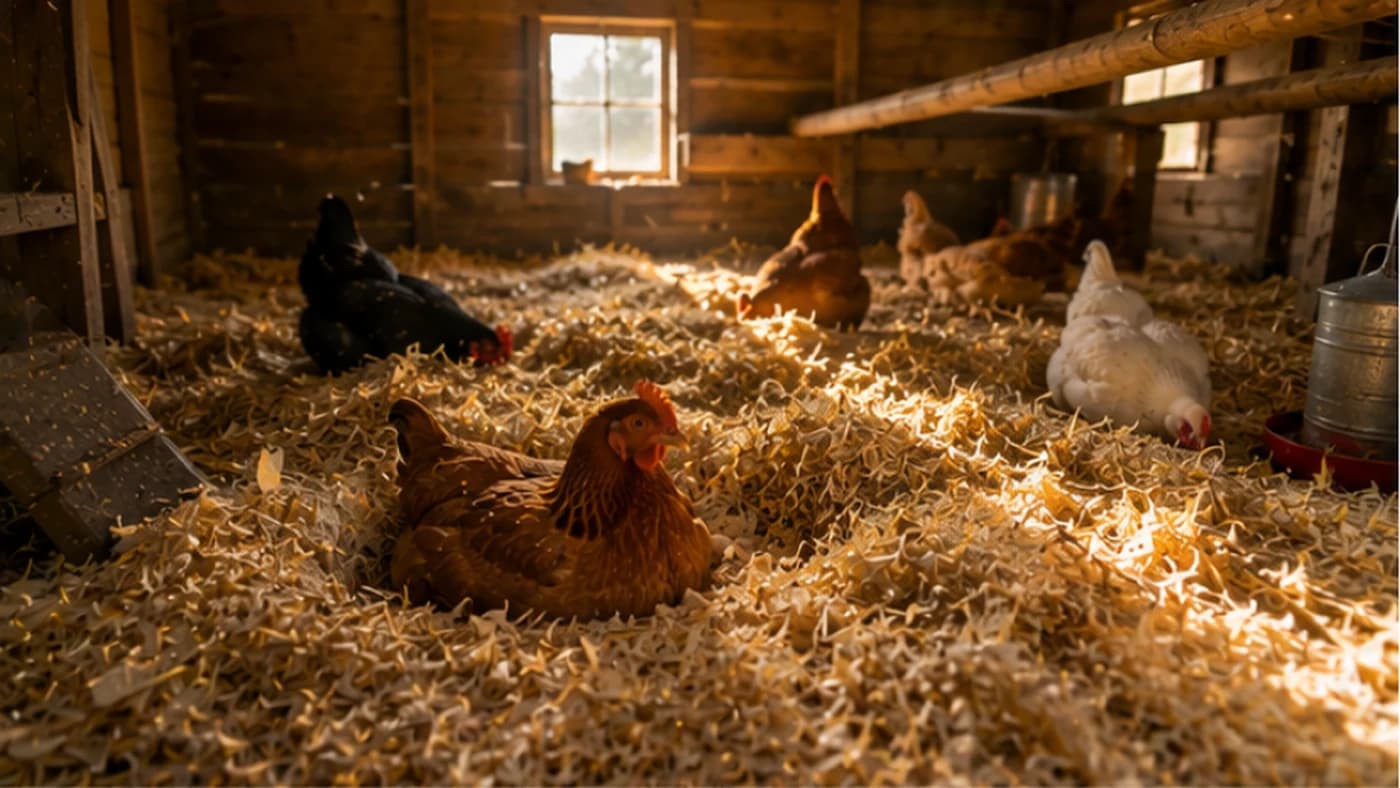
The Deep Litter Method: Stop Cleaning Your Coop Every Week and Start Composting It Instead
Scooping and hauling manure out of a coop every week is exhausting and throws away free fertiliser. The deep litter method lets bedding and droppings build up and compost in place — less labour, better bird health, and a bucket of garden gold every season.

Natural Swimming Ponds: A Living Water Store for Your Farm
A chemical-dependent pool is a drain on your wallet. A natural swimming pond uses plants and beneficial bacteria to filter itself — and doubles as a serious emergency water reserve for your farm.