

Permanent Stone Garden Beds: Building Raised Beds That Outlast Plastic and Wood
Plastic and wood garden borders crack, rot and end up as landfill within a few years. A dry-stacked stone bed, built once with local rubble, can last a lifetime — and it warms your soil for free.
Quick answer
A dry-stacked stone garden bed costs more in labour up front but almost nothing after that — no replacement, no chemical leaching, and in cooler regions a genuine boost to your growing season from stored heat. Get the gravel foundation and the one-over-two stacking rule right, keep the wall's lean inward, and it will outlast every plastic or wood border you've ever bought.
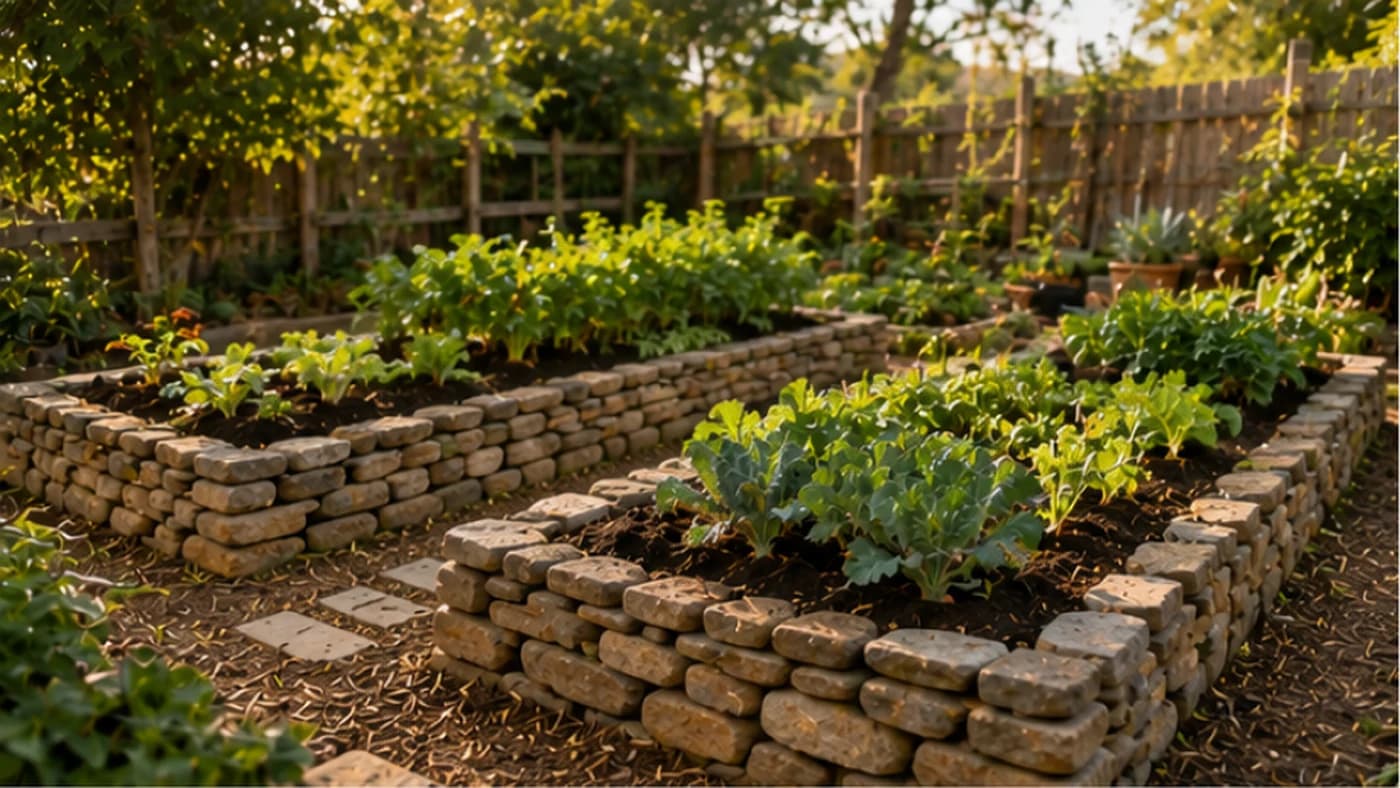
Most raised-bed borders — bamboo, plastic sheeting, cheap wood planks — start falling apart within two or three seasons of sun and monsoon rain. A raised bed built from dry-stacked stone, with no cement or mortar at all, can outlast the house next to it. This is not a new idea: farmers in the hill states have used dry rubble walls to terrace slopes and hold soil for generations. Applied to a kitchen garden or a farm's home plot, the same method gives you a bed that never needs replacing, drains itself, and even helps regulate soil temperature.
What a dry-stacked stone bed actually is
A stone garden bed is built from locally available rubble or fieldstone, stacked without mortar so the wall relies purely on gravity, friction and the way the stones interlock. Because there's no rigid cement bond, the wall can flex slightly with the ground through the seasons instead of cracking, and rainwater simply weeps out through the gaps instead of building up pressure behind the wall the way it does behind a solid concrete or brick border.
This is exactly the same logic used in traditional dry-stone terrace bunds seen across the Himalayan foothills, the Western Ghats and other hilly farming regions — the stone does the work of holding soil in place for decades with zero maintenance beyond the occasional re-stack.
Building the foundation and the wall
Start with a trench 15–20 cm deep around the full perimeter of the bed, slightly wider than the stones you'll use for the base course, and fill it with about 10 cm of compacted gravel or crushed stone. This footing is what stops the whole wall from sinking or tilting once the ground gets wet in the monsoon.
The single most important rule while stacking is 'one stone over two': every stone should sit across the joint between the two stones beneath it, the same staggered logic used in brickwork, so no single vertical seam runs up the wall (a running seam is the fastest way for a wall to collapse). As you build up, lean the wall very slightly inward — about 1–2 cm of setback for every 30 cm of height — so gravity pulls the stones into the soil they're holding rather than letting wet soil push them outward.
For the interior of a thick wall, pack small angular stone chips (not soil) tightly as 'hearting' — this locks the structure together and stops the wall from bulging outward over time.
The thermal-battery effect — and when it matters
Dense stone absorbs heat through the day and releases it slowly overnight, acting like a battery for warmth. In cooler regions and hill states, this can protect young seedlings from a light night frost and keep warm-season crop roots active on chilly nights, effectively stretching your growing season at both ends for free.
In hot plains climates this effect works against you in peak summer — a south-facing stone wall can overheat the soil right next to it. If you farm in a hot region, keep a thick mulch layer against the inside face of the wall through summer, and treat the thermal benefit as mainly a cool-season, hill-region advantage rather than a year-round one.
Why it's worth the effort
A dry-stacked stone bed doesn't rot, rust or degrade under UV light the way plastic sheeting or untreated wood does — while a wood or plastic border needs replacing every 2–7 years, a stone wall is effectively permanent. The gaps between stones let excess water escape naturally, so the bed avoids the waterlogged 'bathtub effect' that rots roots in clay soils. There's nothing to leach chemicals into your soil, no surface for termites to hide behind, and a well-built wall adds real, lasting value to the land itself.
If you can source rubble locally — from your own field clearance, a nearby quarry, or construction debris — the material cost can be close to zero, with labour being the main investment.
Common mistakes to avoid
The biggest mistake is skipping the gravel foundation and stacking directly onto soft topsoil — the wall will shift and need a full rebuild once the ground softens in the monsoon. The second is using cement mortar to 'strengthen' a small garden wall: mortar seems sturdier, but constant irrigation moisture works into hairline cracks, and where winters bring frost (as in hill states) that trapped water expands and shatters the bond, leaving you with broken concrete and loose stone — dry-stacking, which allows movement without damage, is actually the more durable choice for a small bed. The third is weak hearting — if the interior fill isn't packed tightly with angular stone, the wall will eventually bulge and fail.
Limitations — when stone isn't the right choice
Moving several tons of rock is genuinely hard physical labour, so this suits someone with the time for a slow, steady build rather than a quick weekend project. Never build a heavy stone bed on a rooftop, terrace, balcony or near buried pipes and cables without checking the load the structure can bear — a cubic metre of stone easily weighs over a tonne. And because a stone bed is essentially permanent, it's a poor choice if you rent your land or expect to redesign your layout every few years.
Stone walls vs. disposable borders
Plastic or thin wood borders: last 2–7 years, heat up and cool down fast with no thermal benefit, need frequent replacement, and end up as non-biodegradable waste. Dry-stacked stone walls: last 100+ years, act as a genuine thermal buffer in cool climates, need only occasional re-stacking, and use a natural, local material with no waste stream. The upfront labour is higher for stone, but the cost per year of use is far lower — plastic buys you a recurring problem, stone buys you a one-time structure that keeps working.
Practical tips for your first bed
Source stone from your own field, a local quarry's rejected 'waste' rubble, or anyone clearing land nearby — it's often free if you're willing to haul it. Use a spirit level on every course so each layer sits level even if the ground itself slopes, which prevents an uneven, slumped look. For any wall taller than 60 cm, place a long 'deadman' stone every couple of metres running back perpendicular into the soil behind the wall — this ties the wall into the earth and makes it far harder for wet soil pressure to push it over. Finish the top course with your flattest, most even stones as a capstone — this sheds rain and doubles as a seat while you weed or harvest.
Example: a 1.2 m × 2.4 m raised bed
For a bed roughly 1.2 m by 2.4 m and 45 cm high, excavate a slightly larger footprint to allow for wall thickness, lay 10 cm of compacted gravel, then set your largest, flattest stones as the base course, tapping each firm with a mallet. Build up 3–4 courses following the one-over-two rule, and by the time you reach 45 cm you'll have moved roughly 900–1,300 kg of stone. Line the base with cardboard or newspaper to suppress weeds, fill with a mix of compost, topsoil and farmyard manure, and you have a bed that will still be producing long after a plastic-edged bed has cracked apart.
Frequently asked
Do I need cement to build a stone garden bed?+
No — dry-stacking without mortar is actually more durable for a small bed, since it lets the wall flex and drain instead of cracking under moisture and temperature changes.
How deep should the foundation trench be?+
About 15–20 cm deep, filled with roughly 10 cm of compacted gravel or crushed stone, so the wall has a stable, well-draining base.
Does the stone really warm the soil?+
Yes — dense stone absorbs heat during the day and releases it at night, which helps most in cooler regions and winters by protecting seedlings from light frost. In hot plains climates, mulch the inner face in summer to avoid overheating roots.
How tall can I safely build without cement?+
Most home garden walls stay under 60–75 cm. Beyond that, add 'deadman' stones tying back into the soil every couple of metres, and keep a slight inward lean as you go up.
Can I build this on a rooftop or terrace?+
Only after checking the load the structure can bear — stone is very heavy, and an unchecked rooftop bed can be a real safety risk.
Where to go next
Want this as daily tasks for your farm?
Khetiyaar turns guides like this into a day-by-day plan — in your language, free to start.

Related guides
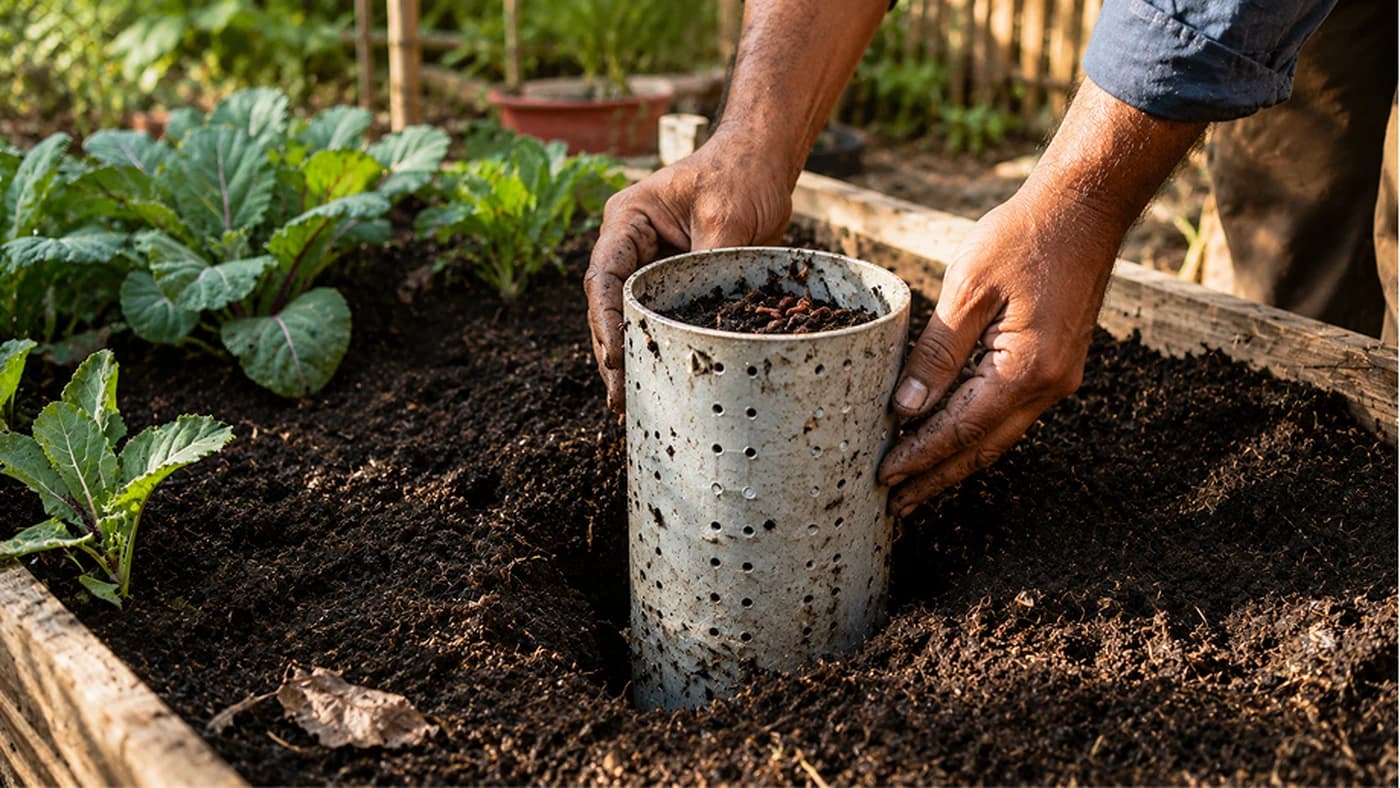
How to Build a Garden Worm Tower for Free, In-Bed Composting
Stop hauling kitchen scraps to a distant bin and hauling compost back months later. A buried worm tower lets worms process waste right where your plants are growing.
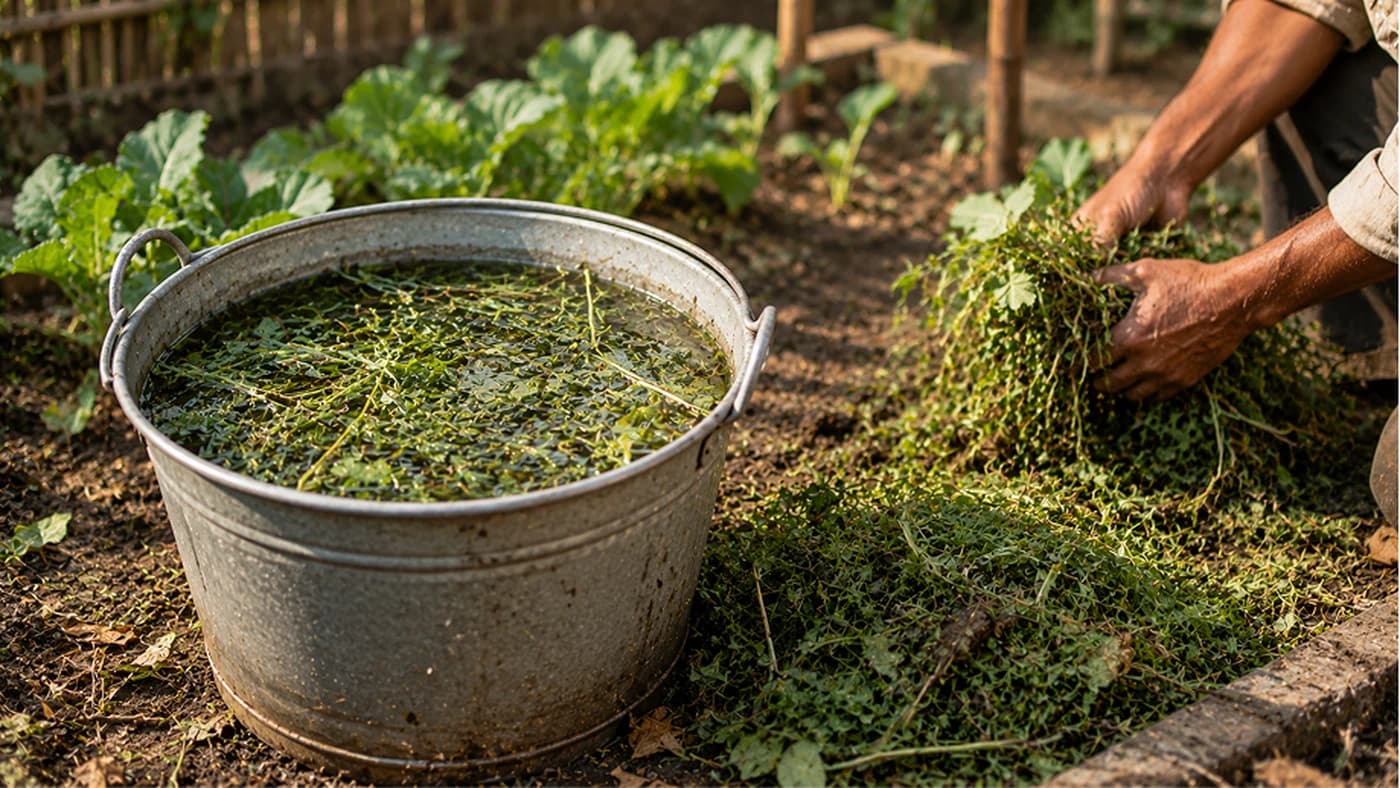
Free Garden Fertiliser From Backyard Weeds (Fermented Plant Juice)
The weeds growing wild along your bund or driveway are nutrient pumps. Korean Natural Farming's Fermented Plant Juice (FPJ) turns them — plus a handful of jaggery — into a potent, nearly free plant tonic.
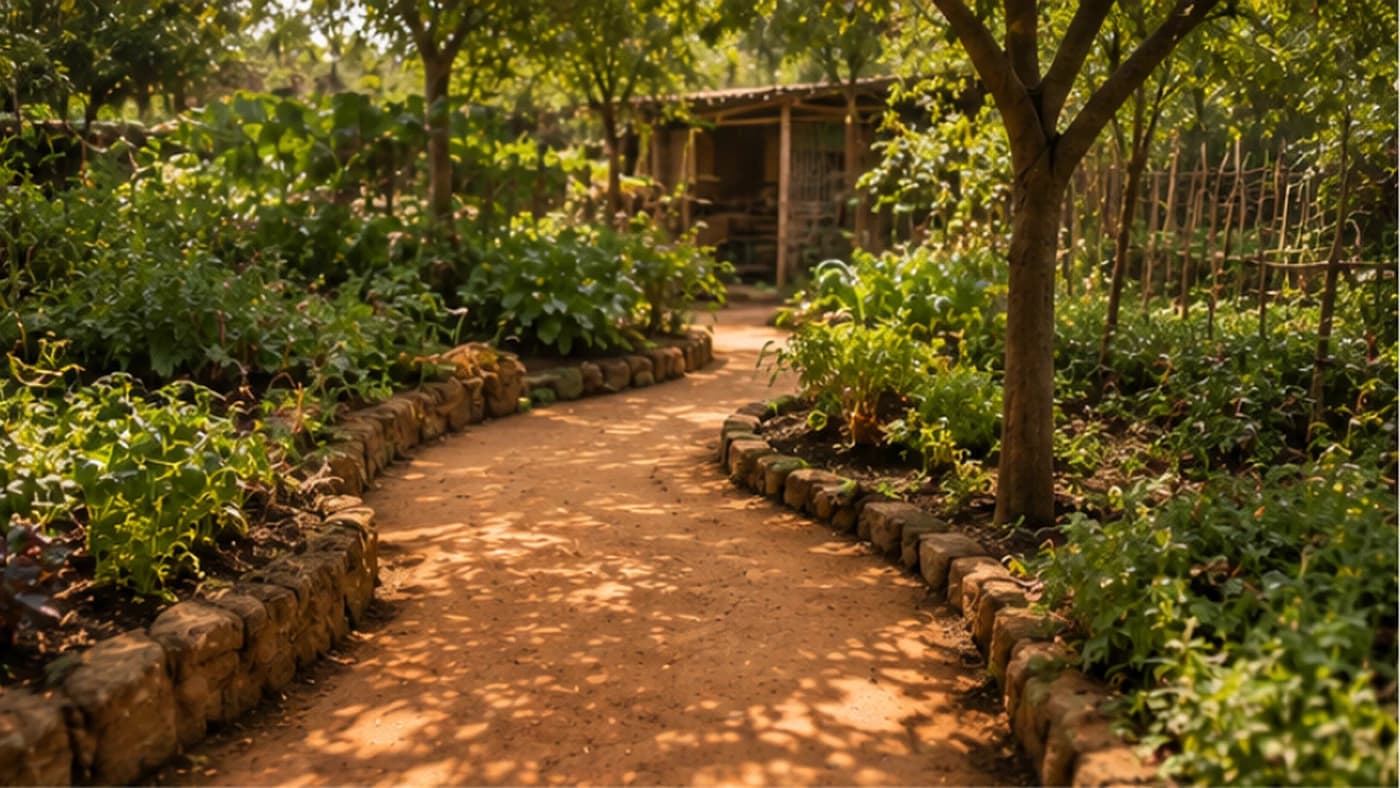
DIY Cob Garden Paths: Free Walkways From the Soil Under Your Feet
Concrete costs money and a huge carbon footprint. Cob — clay-rich subsoil, sand and straw — builds a durable, walkable garden path for almost nothing, using the very soil you dug out for a pond or pit.