

Broadfork vs Power Tiller: Which One Actually Protects Your Soil?
A power tiller looks fast and clean, but it can quietly wreck the soil life underneath. A broadfork — a simple, no-fuel hand tool — often does a better job for a kitchen garden or a small organic plot.
Quick answer
A power tiller gives you a fast, clean-looking bed today at the cost of the soil life that keeps it productive tomorrow. A broadfork takes a little more effort per session but protects earthworms, keeps buried weed seed dormant, and breaks hardpan instead of creating it — for the price of one tool that can last a working lifetime. For anything smaller than a full field, it usually pays for itself in healthier, easier soil within a season or two.
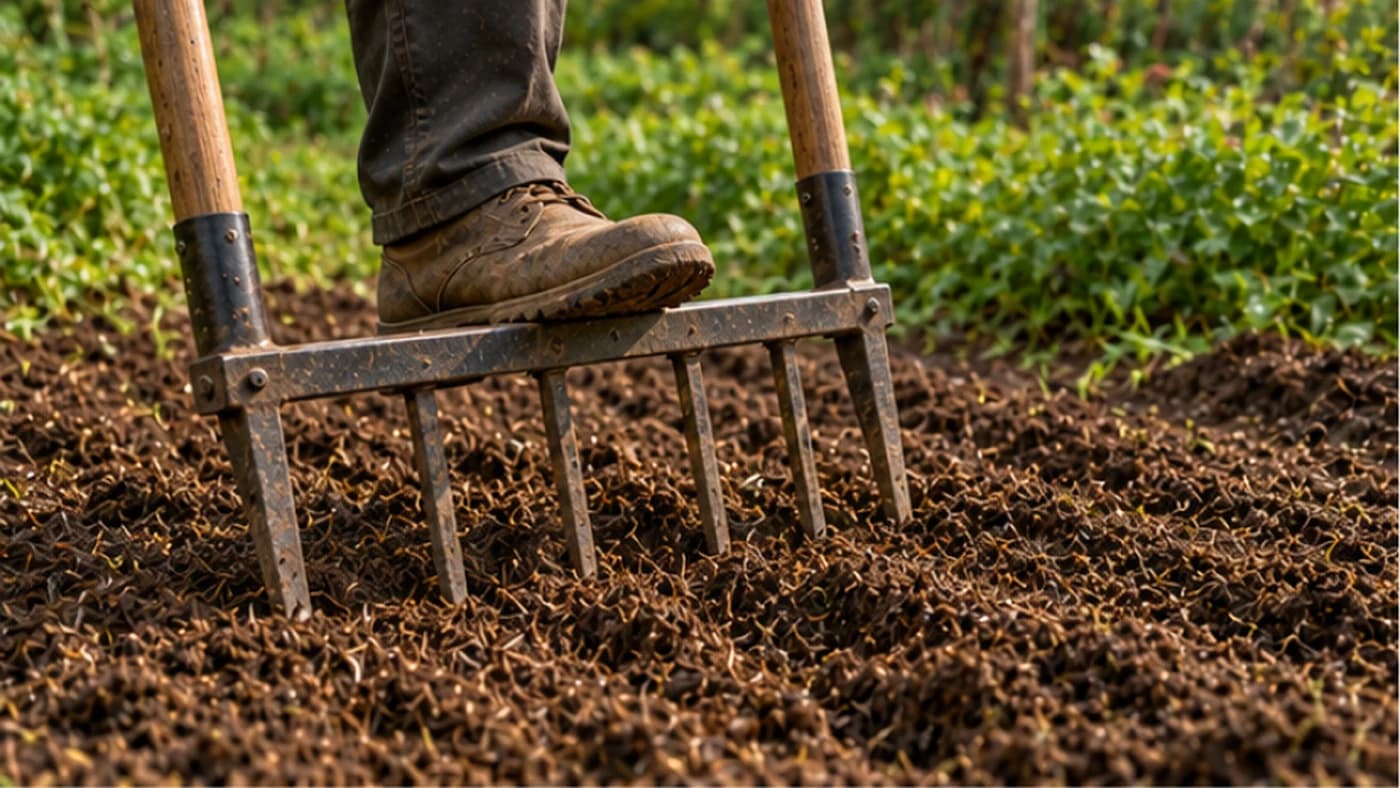
Most small farmers assume the only way to loosen soil is to run a power tiller through it. But a tiller's spinning blades chop the top 15-20 cm of soil into a fine powder — and along with the clods, they shred earthworms, break up fungal networks, and drag buried weed seeds up into the light where they sprout. A broadfork is the low-tech alternative: a simple steel frame with long tines that you step into the ground and lever back, cracking the soil open without turning it over. For a kitchen garden, a nursery bed, or a small organic plot, it is often the better tool — cheaper to own, gentler on the soil, and just as effective at breaking up a hard crust.
Two very different ways to loosen soil
A power tiller uses spinning blades to churn the top layer of soil into a uniform, fluffy bed in minutes. It looks clean and finished, but underneath, it is closer to putting the soil through a blender: earthworm burrows, fungal threads, and the layered structure built up over years are all mixed and destroyed in one pass.
A broadfork works on the same soil very differently. It has two long handles and a row of heavy tines (usually 4-6, each 25-30 cm long). You push the tines straight down into the bed, step onto the crossbar to sink them in, then lever the handles back just enough to crack the soil open — never flipping it over. The result is loosened, aerated soil with its layers and its living organisms left exactly where they belong.
Tillers make sense for breaking completely new ground or dense grass sod for the first time. But once a bed is established, a broadfork is the tool serious growers reach for every season after — market gardeners and home growers alike use it to maintain permanent beds without repeating the damage a tiller causes.
How to use a broadfork, step by step
Stand at one end of the bed, set the tines flat on the soil with the handles upright, then step onto the crossbar with both feet and use your body weight to drive the tines down 25-30 cm. On heavy or compacted soil, a gentle side-to-side wiggle helps the steel find its way in.
Once the tines are fully buried, step back off the bar, grip the handles, and pull them toward you until they reach about a 45-degree angle. You'll feel — and sometimes hear — the soil crack open. Stop there. Don't pull the handles all the way down, and don't try to flip the soil; the goal is to lift and crack it, not turn it over.
Return the handles upright, pull the tool straight out, step back 15-25 cm, and repeat down the row until the whole bed is done.
Why the soil responds better to this method
Deep-burrowing earthworms build permanent vertical tunnels that act as highways for roots, air and water. A tiller's blades chop these worms and their tunnels to pieces; a broadfork's tines simply slide past them, leaving the tunnels intact.
Every soil holds a bank of dormant weed seeds buried too deep to sprout. A tiller acts like an elevator, lifting those seeds up into the light and moisture they need to germinate — which is why tilled beds so often weed heavily afterward. Because a broadfork doesn't invert the soil, those seeds stay buried and dormant, cutting your weeding load over time.
Tillers also tend to create a compacted "hardpan" layer right at the depth the blades reach, since the spinning action smears and presses the soil at its lowest point. Roots can't push through this layer. A broadfork breaks straight through an existing hardpan instead of creating a new one, letting taproots reach deeper for water and minerals.
Common mistakes
The biggest mistake is forking wet soil. If a handful of soil forms a ball and doesn't crumble, it's too wet — forcing tines into saturated ground smears the inside of the holes and makes compaction worse, leaving clods that bake into bricks once dry.
The second is the urge to flip the soil like a tiller would. Pulling the handles too far back buries the aerobic bacteria living in the top few centimetres, which need oxygen to survive. Keep the motion controlled: lift and crack, don't flip.
Don't use the fork as a lever to pry out large stones or thick roots — a well-made steel fork can take the strain of forking, but prying sideways against a solid obstruction can snap cheaper models. If you hit something solid, stop and dig it out with a spade or digging bar instead.
Where a broadfork isn't the right tool
Scale is the real limit. A broadfork is built for beds measured in square metres, not for tilling several acres of new field — that job still calls for a tractor or a power tiller.
Very rocky soil can stop the tines from reaching full depth; you may need one aggressive tillage pass to clear the biggest stones before a broadfork becomes practical. Thick, unbroken grass sod is another case where you may need to slash or smother the grass first (a tarp or repeated cutting works) before the fork can penetrate the root mat.
What it actually costs
A solid steel broadfork typically runs about ₹12,000-25,000 if bought ready-made, with essentially zero ongoing cost beyond an occasional wipe of oil on the tines — and a well-made one can easily last 25-30+ years. A local blacksmith (lohar) can often fabricate an equivalent tool to your exact size and tine spacing for less than an imported one.
A petrol-powered tiller costs considerably more upfront, plus recurring fuel, oil and blade-sharpening costs every season, and a working life closer to 10-15 years before major parts need replacing. The hidden cost of a tiller is what it does to the soil: if you end up spending more on fertiliser and weed control because tilling degraded your soil's natural fertility and woke up a decade of buried weed seed, the machine becomes an expensive habit rather than a one-time tool.
Getting more out of the technique
Once comfortable, work in a rowing rhythm: keep the tines in the soil and walk the tool backward instead of lifting it fully with each step, sliding it along the surface to the next spot — easier on your back and faster over a long bed.
Try the "compost sandwich": spread a thick layer of good compost or well-rotted manure over the bed before forking. As the tines crack the soil open, some compost falls into the fissures, feeding the root zone directly without digging it in by hand.
Space your forkings about 25-30 cm apart for routine maintenance of an established bed; tighten to 15 cm on heavy clay that hasn't been worked in years, so the soil is honeycombed enough for soil life to finish the job.
Terms explained in this guide
Frequently asked
Does a broadfork work as well as a power tiller?+
For loosening and aerating an established bed, yes — often better, since it doesn't destroy soil structure or bring buried weed seeds to the surface. For breaking completely new ground or thick grass sod, a tiller or one hard tillage pass is usually faster.
How deep should the tines go?+
Aim for 25-30 cm. That's deep enough to crack compaction and open the soil to air and water without disturbing the topsoil layer.
Can I use a broadfork on wet soil?+
No — working wet soil smears the inside of the holes and increases compaction. Test by squeezing a handful: if it forms a solid ball, wait for it to dry out more before forking.
How much does a broadfork cost in India?+
A ready-made steel broadfork runs roughly ₹12,000-25,000. A local blacksmith can often fabricate an equivalent tool for less, built to your exact size.
Will a broadfork reduce how much I need to weed?+
Often, yes. Because it doesn't invert the soil, dormant weed seeds stay buried instead of being brought up to the surface where light and moisture trigger germination — which is exactly what tilling does.
Where to go next
Want this as daily tasks for your farm?
Khetiyaar turns guides like this into a day-by-day plan — in your language, free to start.

Related guides
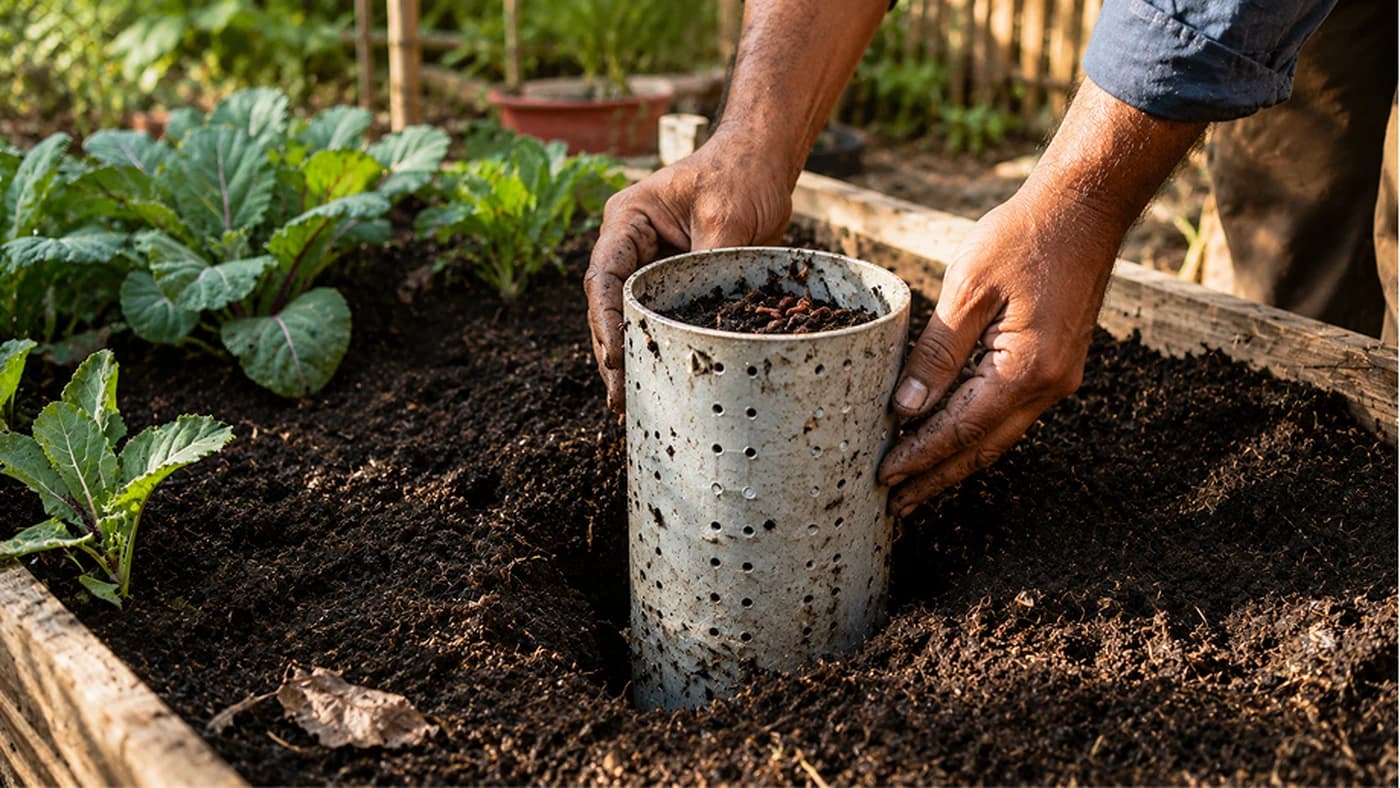
How to Build a Garden Worm Tower for Free, In-Bed Composting
Stop hauling kitchen scraps to a distant bin and hauling compost back months later. A buried worm tower lets worms process waste right where your plants are growing.
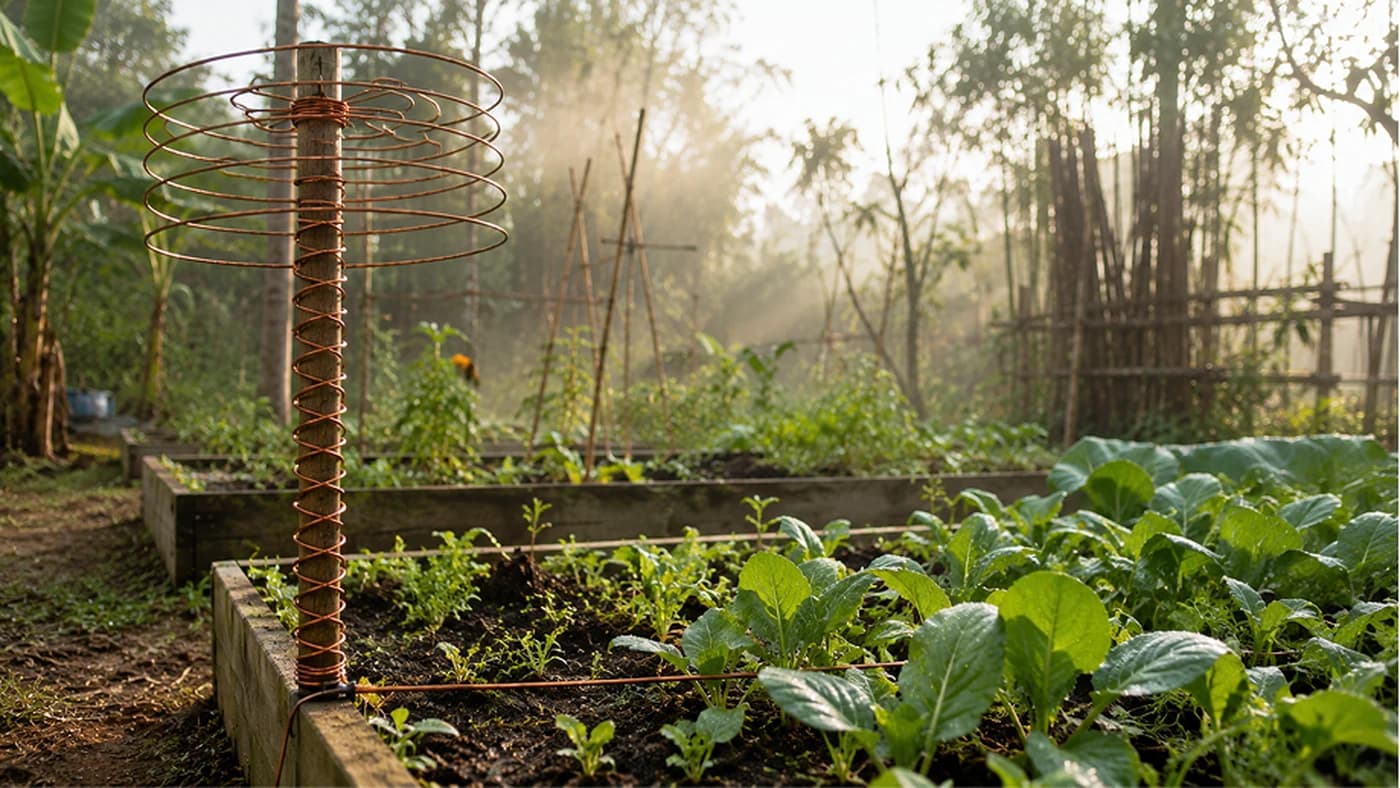
Electroculture Gardening: What It Is, and What the Evidence Actually Says
Copper antenna gardening promises faster growth and lower water use for almost no cost. It's a genuinely old folk technique — but the claims run well ahead of the science. Here's what it involves and how to think about it honestly.
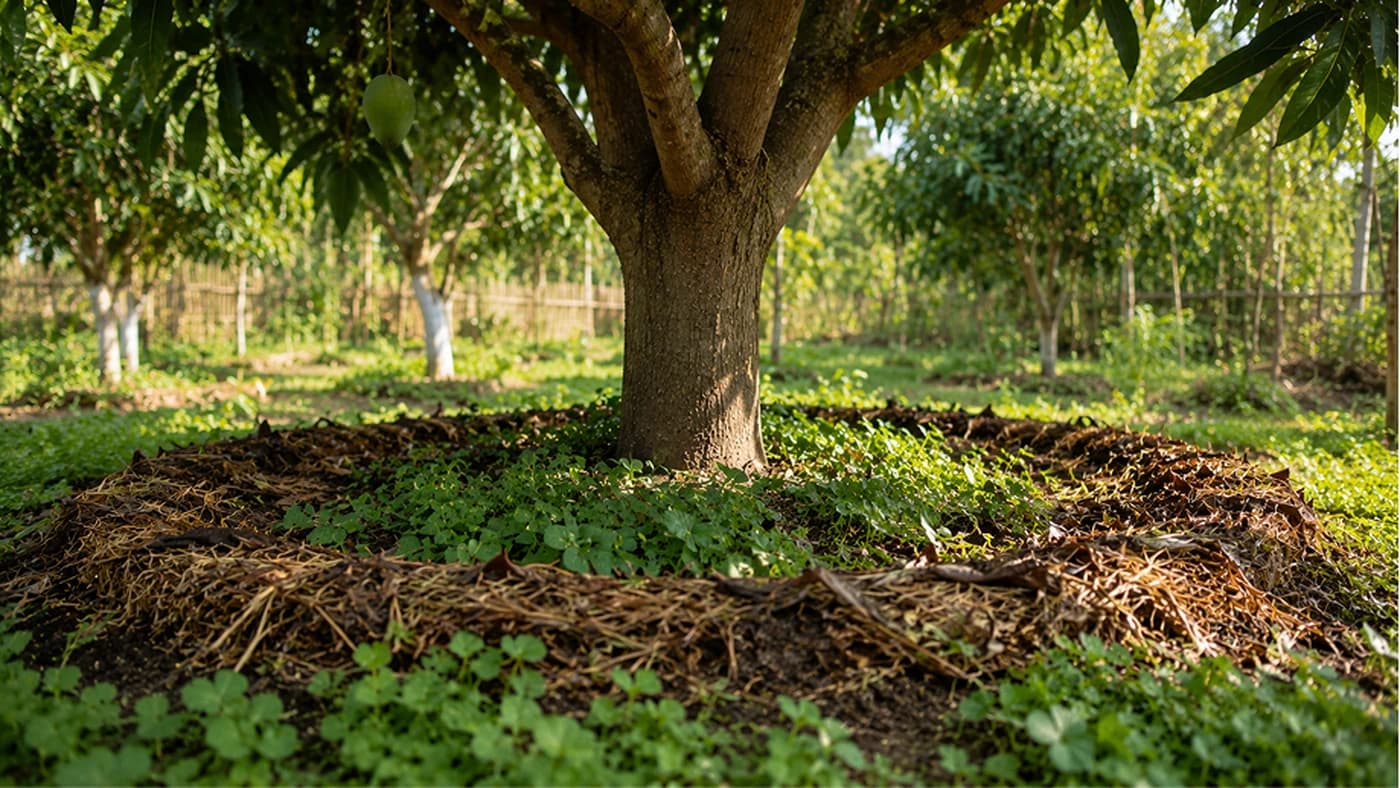
Managing Soil Under Fruit Trees for Better Yields
A mowed, bare-earth ring under a fruit tree is a missed opportunity, not tidy farming. Mulch and a few companion plants turn that space into a pest-fighting, moisture-holding, self-feeding system.