

How to Plant a Miyawaki Forest in Your Backyard
You don't need a hundred acres to grow a forest — just the right density. The Miyawaki method packs native saplings so tightly that they race each other into a mature, self-sustaining forest in three years instead of thirty.
Quick answer
A Miyawaki forest turns a spare corner of yard or farm — sometimes as small as 3 square metres — into a dense, self-sustaining native forest in three years instead of thirty, simply by planting the right native species close enough together to compete. Prepare the soil properly, choose true regional natives rather than ornamentals, plant densely and at random across all four layers, mulch deeply, and commit to three years of watering and weeding before stepping back completely. The reward is a cooler, greener patch of land that builds its own soil, feeds local birds and insects, and locks away carbon at a scale far beyond what its footprint suggests.
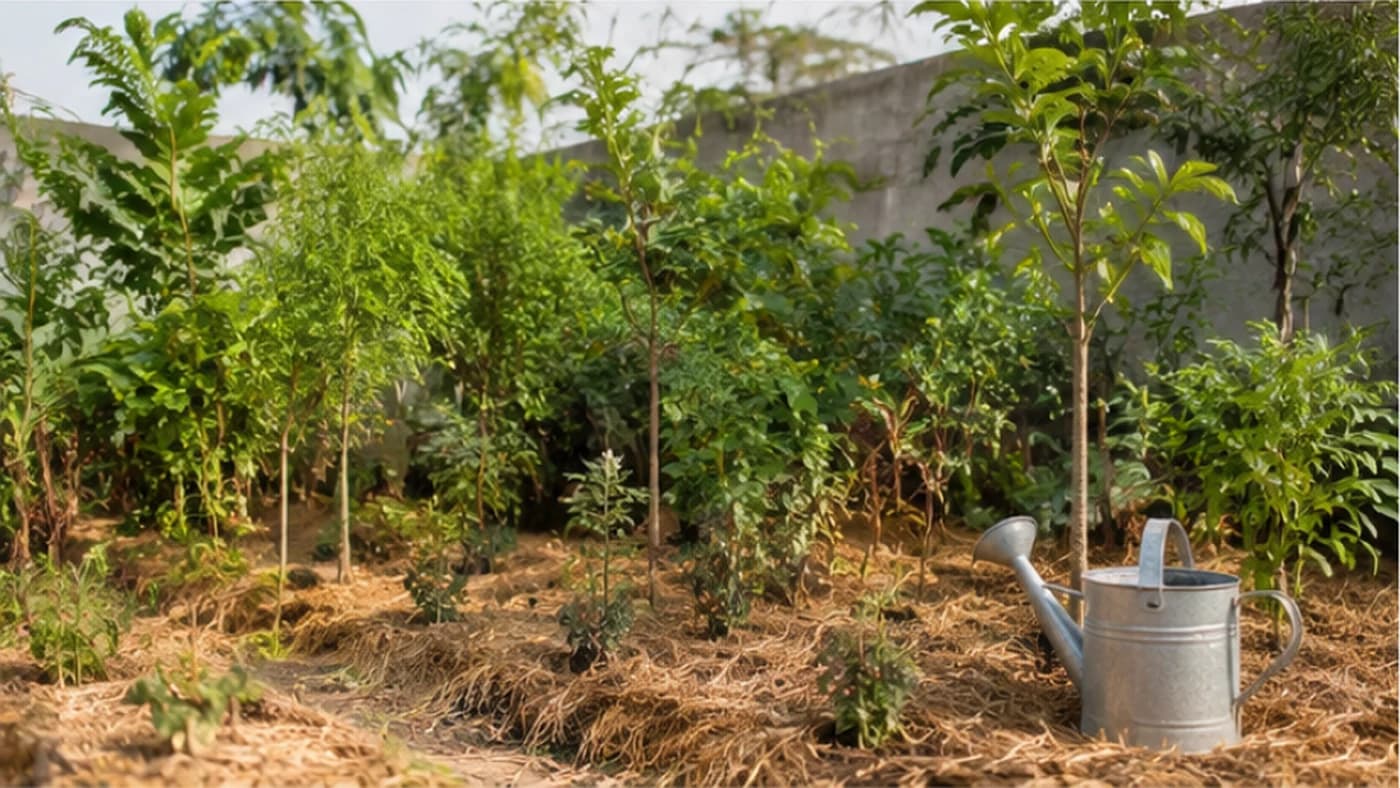
Japanese botanist Dr. Akira Miyawaki found his inspiration in 'Chinju-no-mori' — tiny sacred groves around Shinto shrines that survived for centuries while the forest around them was cleared for timber and farmland. These pockets held the genetic blueprint of what the land actually wanted to grow. His method turns that observation into a technique: plant native species at extremely high density, and competition for light forces every sapling into a growth sprint that compresses decades of natural forest succession into two to three years. In India, where a similar idea — dense native afforestation on tiny urban and farm plots — has been used to grow hundreds of pocket forests in cities since the early 2010s, this is one of the highest-leverage things a homesteader or farmer with a spare corner of land can do. You are not just planting trees; you are building a self-sustaining system of soil, root, fungus and canopy that eventually looks after itself.
The idea: force a forest to grow up, not out
Traditional forestry spaces trees several metres apart to avoid competition. Miyawaki forestry does the opposite: it plants three to five saplings per square metre and lets competition do the work. Every plant races upward toward the light, and this vertical pressure produces growth rates up to ten times faster than a conventionally spaced planting.
This matters because a typical modern yard or field edge is a biological desert — a single non-native grass and perhaps one ornamental tree, offering almost nothing to local birds, pollinators or soil life. A Miyawaki forest can be established on a patch as small as 3 square metres. Picture a crowd standing shoulder to shoulder instead of scattered across a field: packed close, the root systems interlock, sharing a fungal network that moves water and nutrients between plants, and the dense canopy creates its own cool, moist forest-floor climate even in peak summer heat.
The four layers every pocket forest needs
A real forest is never a single flat height — it's a stack of four distinct layers, and missing any one of them weakens the whole system's ability to shade out weeds and lock away carbon.
Canopy trees are the giants that would naturally dominate the site over centuries — deep-rooted, wide-crowned species that eventually form the 'roof'. Tree-layer species sit just below, filling the mid-level and producing most of the seed that keeps the grove going. Sub-trees are shade specialists that thrive in the dappled light below the canopy, adding density and acting as a windbreak; many produce fruit that feeds birds. Shrubs form the dense ground-level 'walls' — the first line of defence against weeds and disturbance, keeping sun off the soil and the root zone moist.
Preparing the ground: soil surgery comes first
Most residential or farm-edge plots have compacted, construction-damaged or heavily cropped soil — nothing like a forest floor. Forest trees need loose, crumbly, fungus-rich soil, and getting this right determines whether the next thirty years of growth succeed.
Decompact the plot to at least 30 centimetres deep, ideally a full metre, using a pickaxe or broadfork — roots cannot push through compacted 'concrete' soil. Then work in a mix of moisture-retaining material, organic fertiliser and an aeration agent at roughly a 1:1:1:1 ratio with the loosened soil. In India this can be coir pith, well-rotted cow or goat manure compost, and rice husk or paddy husk instead of imported peat moss — all locally available and doing the same job. Finally, mix in a handful of leaf litter or forest-floor 'duff' from a healthy nearby native patch of forest to inoculate the new soil with local mycorrhizal fungi, which extend a tree's effective root system many times over once established.
Choosing your species: the PNV approach
Success depends on Potential Natural Vegetation (PNV) — the species that would grow on your exact soil and elevation if left undisturbed. 'Native' alone isn't precise enough; you need the climax species specific to your region, which you can research through local forest department nurseries, botanical records, or an undisturbed patch of forest nearby.
Aim for 30 to 50 different species so that no single pest or disease can take down the whole planting, in a mix of roughly 70-80% canopy and sub-canopy trees to 20-30% shrubs and ground-level plants. Avoid ornamental nursery cultivars — wild-type native plants have the genetic toughness this intense competition demands. Across much of India, a well-chosen list can draw on trees like banyan, peepal, neem, jamun, arjuna, karanj (pongamia), amla, bel and kadamba for the canopy and tree layers, and shrubs like karonda or nirgundi for the ground layer — but always confirm against what genuinely grows wild in your own district, since India's agro-climatic zones vary hugely from the Himalayan foothills to coastal Kerala to the Deccan plateau.
Planting: density and deliberate randomness
With three to five saplings per square metre, spacing works out to roughly 60 centimetres between plants — close enough that this is best done as a group activity, with several people placing saplings at once. Randomness is essential: natural forests never grow in rows, so make sure no two plants of the same species sit next to each other, and stagger the four layers so a canopy tree is surrounded by a shrub, a sub-tree and a tree-layer species in a 'jigsaw' pattern that fills every vertical niche from day one.
Use young saplings, 60-80 centimetres tall — they establish roots faster than older, pot-bound stock. Dig a small hole, set the sapling with its root flare at soil level (not buried deeper), and firm the soil around it.
Mulching: the non-negotiable final step
A natural forest floor is protected by its own leaf litter; your new planting hasn't grown that yet, so you provide it artificially. Apply at least 15 centimetres of straw, paddy husk or wood chips across the whole bed. This does three jobs at once: it suppresses weed seeds that would otherwise compete with your saplings, it holds soil moisture so you water less often, and it slowly breaks down into plant-available nutrients. In windy locations, hold the mulch down with biodegradable string or coir netting until the young plants are tall enough to form their own windbreak.
What you actually get for the effort
Compared with a standard lawn or garden patch, a mature Miyawaki forest grows roughly ten times faster, hosts on the order of a hundred times more species, and captures 30 to 40 times more carbon — while needing no maintenance after three years instead of weekly mowing, and surviving on far less water once established. The dense canopy and transpiration from so much packed vegetation can make the interior 5 to 10°C cooler than the surrounding bare ground or pavement on a hot day, and pollinators, predatory insects and birds typically show up in visibly larger numbers within the very first year.
Where people go wrong
The most common mistake is choosing fast pioneer species instead of true climax natives for the site — the planting looks great for two years, then stalls. The second is under-decompacting the soil, digging a hole per tree instead of loosening the whole plot; roots then hit a wall of hard earth and circle back on themselves, never becoming truly stable. The third is walking away too early — the forest is designed to become self-sufficient, but it cannot yet fight off invasive weeds or survive a bad drought in its first three years, which is the guardian phase, not the hands-off phase.
The method also has real limits: it was built for land whose natural climax vegetation is forest, so forcing it onto a naturally open grassland or wetland ecosystem can do more harm than good and simply out-compete species that depend on open, sunny ground. Very small, long, thin plots also struggle to build the sheltered 'interior' microclimate a compact square or circular plot develops. Buying enough saplings and soil amendments for a proper planting is a real upfront cost; growing your own saplings from locally collected seed cuts that cost substantially, at the price of roughly two extra years before you can plant.
The three-year guardian phase
After three years, the rule is strict: no pruning, no fertilising, no watering — the forest runs itself from here. Getting there takes disciplined early care. Water through the first two summers, ideally with a drip line straight to the roots, since the dense planting means every plant is competing hard for moisture. Weed by hand using 'chop and drop' — cut the weed at the base and leave it lying as extra mulch rather than pulling it out, and never use herbicide, which will damage the fungal network you're trying to build. Expect roughly 10% of saplings to die in a planting this dense; that's normal, not a failure — leave the dead ones in place as a 'nurse log' for their neighbours rather than replanting immediately.
A worked example: converting a 3×3 metre patch
Take a bare 3×3 metre corner of a backyard or farm boundary. Following the Miyawaki ratio, that needs roughly 30 to 40 saplings across around 10 native species for your region — for illustration only, a mix like banyan and peepal for canopy, jamun and arjuna for the tree layer, kadamba and bahunia (kachnar) for sub-trees, and karonda or hibiscus species for the shrub layer, always adjusted to what is genuinely native to your district. Spend a day or two decompacting the soil to a spade's depth and a half, mixing in coir pith, well-rotted manure and rice husk. Plant the saplings randomly at roughly 60-centimetre spacing, then blanket the bed in 15 centimetres of straw or husk mulch. Water through a simple drip line and hand-weed for the first two summers. By year three, the canopy typically closes over, shading out weeds on its own, and the plot has crossed into a self-sustaining miniature forest.
Terms explained in this guide
Frequently asked
How much space do I need to plant a Miyawaki forest?+
As little as 3 square metres can work, though a larger, more compact (square or circular rather than long and thin) plot develops a more stable interior microclimate and is more forgiving to manage.
How is this different from just planting a few trees?+
Density and layering. Miyawaki plants 3-5 saplings per square metre across four vertical layers (canopy, tree, sub-tree, shrub) using true local native species, which forces rapid competitive growth — regular tree planting spaces trees apart and skips the shrub and sub-tree layers entirely.
How long before it needs no maintenance at all?+
About three years. During that time you water (ideally by drip) and hand-weed using chop-and-drop; after that, no pruning, no fertilising and no watering are needed — the forest maintains itself.
Is a 10% sapling die-off a sign something went wrong?+
No — in a planting this dense, roughly 10% mortality is expected and normal. Leave the dead sapling in place as a nurse log rather than replanting immediately; neighbouring plants usually expand to fill the gap.
Can I use any native tree, or does the species choice matter?+
It matters a great deal. You need the true climax species for your exact soil and region (its Potential Natural Vegetation), not just any locally occurring plant — fast-growing pioneer species look good early but often stall after two years. Check with a local forest department nursery or an undisturbed patch of forest nearby before choosing your list.
Where to go next
Want this as daily tasks for your farm?
Khetiyaar turns guides like this into a day-by-day plan — in your language, free to start.

Related guides
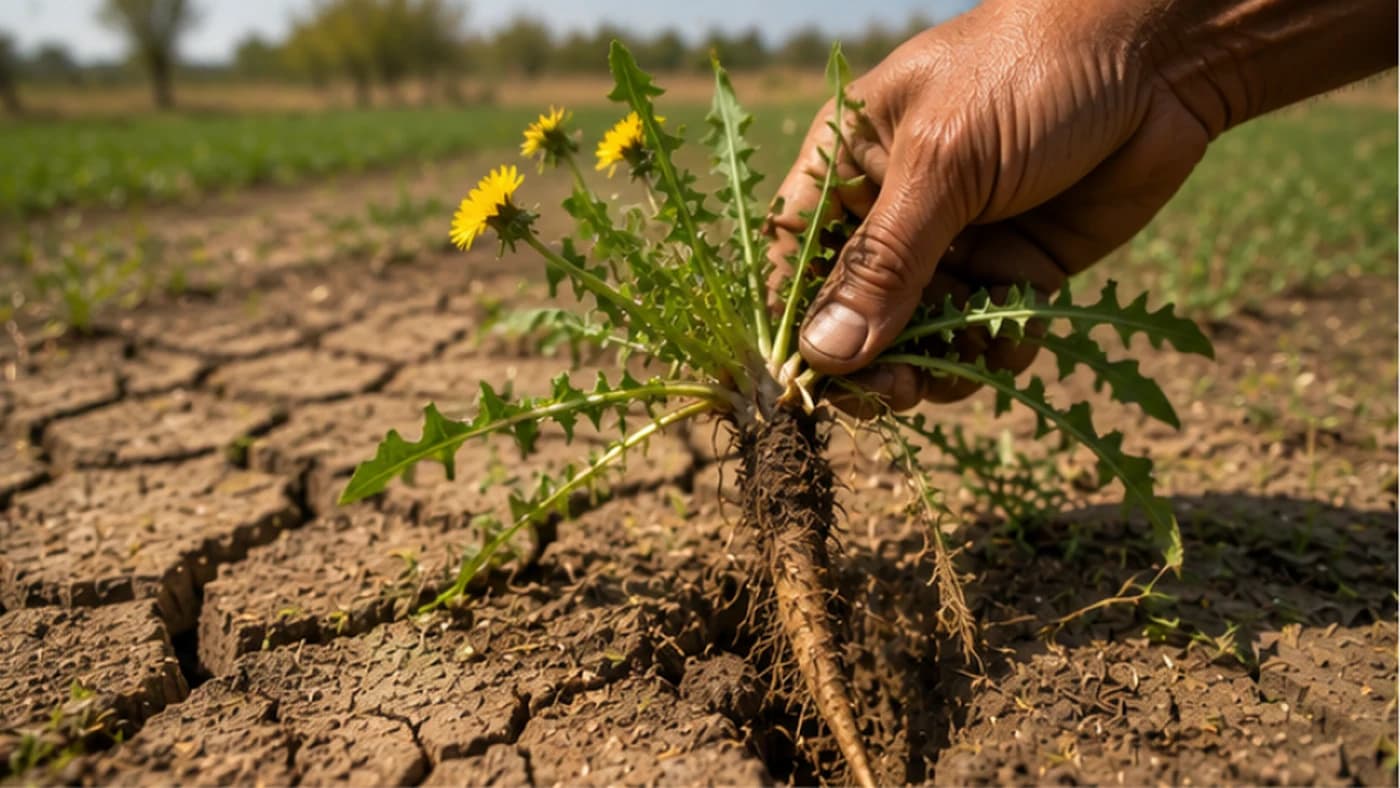
Deep-Rooted Weeds and Cover Crops That Fix Compacted Soil for Free
A weed with a long taproot pushing through hardpan isn't a sign your land has failed — it's the soil trying to repair itself. Here's how deep-rooted plants act as free biological drills, and which ones actually make sense on Indian farms.
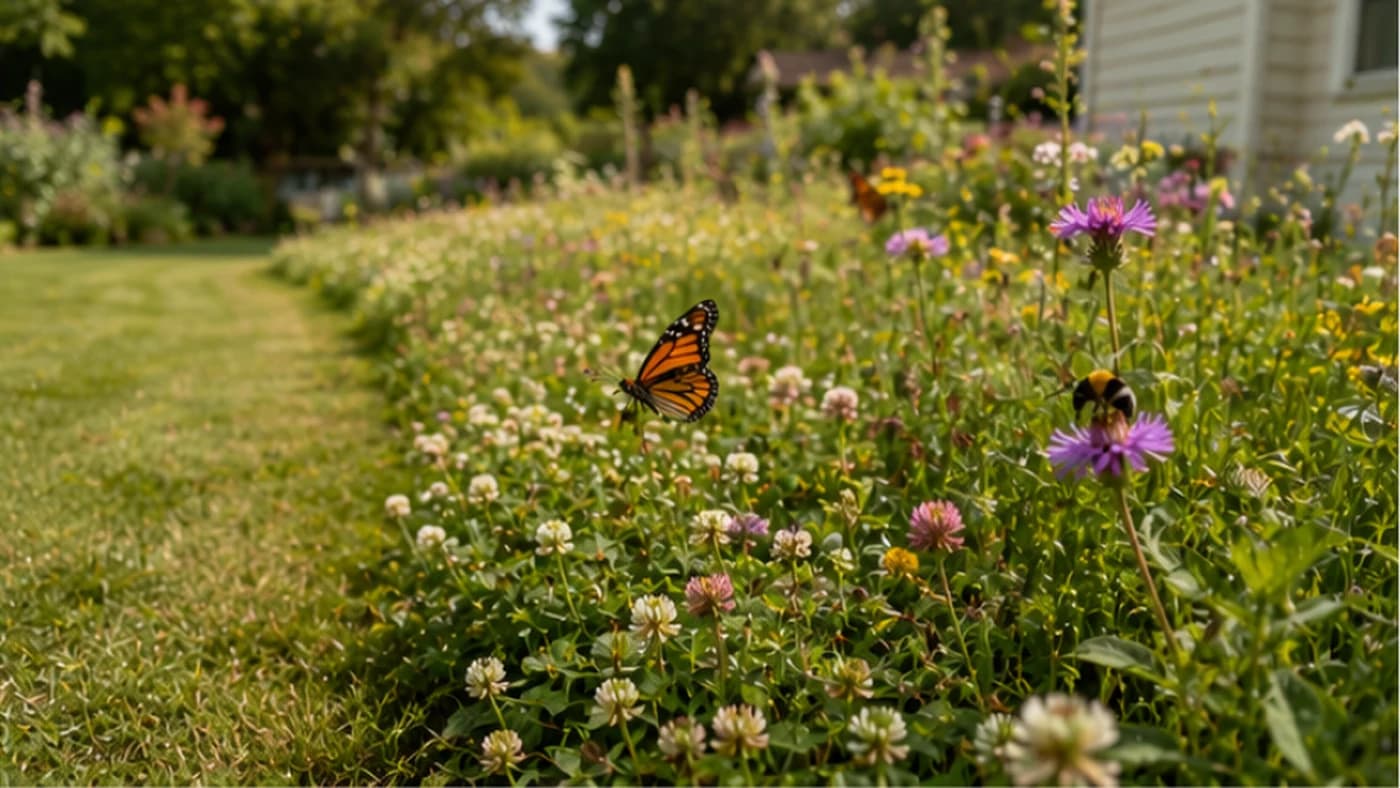
Why Turning Unused Lawn into Flowering Legumes Pays Off for Farms and Homes
A patch of mowed, sterile grass gives nothing back — no food for bees, no roots deep enough to hold soil or water. Converting it to flowering legumes and native plants turns dead space into a working part of the farm.
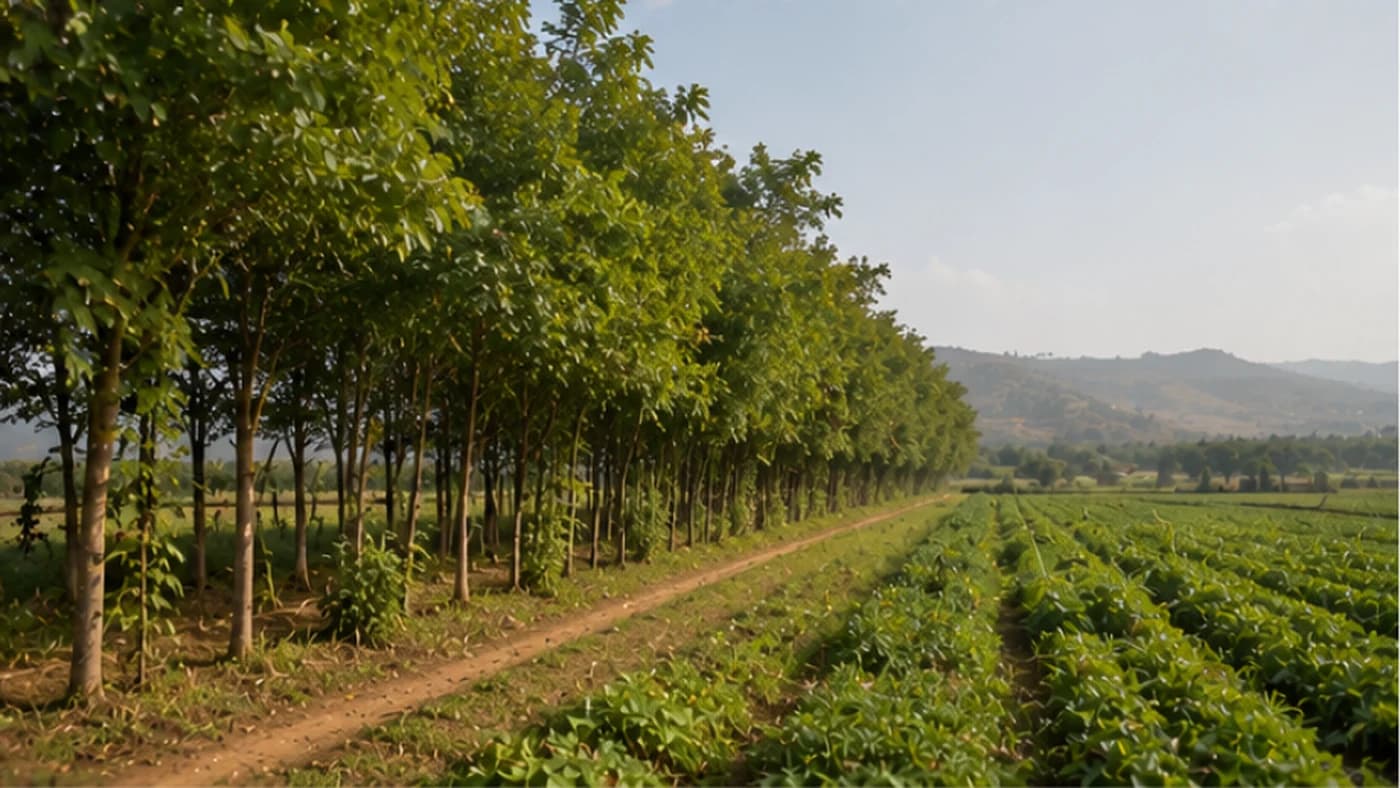
Shelterbelts: Plant a Living Windbreak That Protects Your Yield
A strong, dry wind can strip a huge share of your soil's moisture in a single afternoon. A well-designed row of trees along your field boundary slows that wind and measurably lifts yield.