

How to Cure Garlic Properly for 6–12 Month Storage
Braided and hung garlic looks great for photos, but it's one of the worst ways to cure it — trapped moisture in a tight bundle is exactly what causes rot. A single layer on an open rack, with real airflow, is what actually gets you a year of storage.
Quick answer
A single layer, real airflow, and patience are what separate garlic that rots within weeks from garlic that lasts most of the year. Move it out of the sun immediately after harvest, spread it thin with air moving through it, don't wash it, don't trim it early, and let the neck fully dry and constrict before storage. It trades the look of a braided bunch for a bulb that's genuinely heavy, hard, and ready for the months ahead.
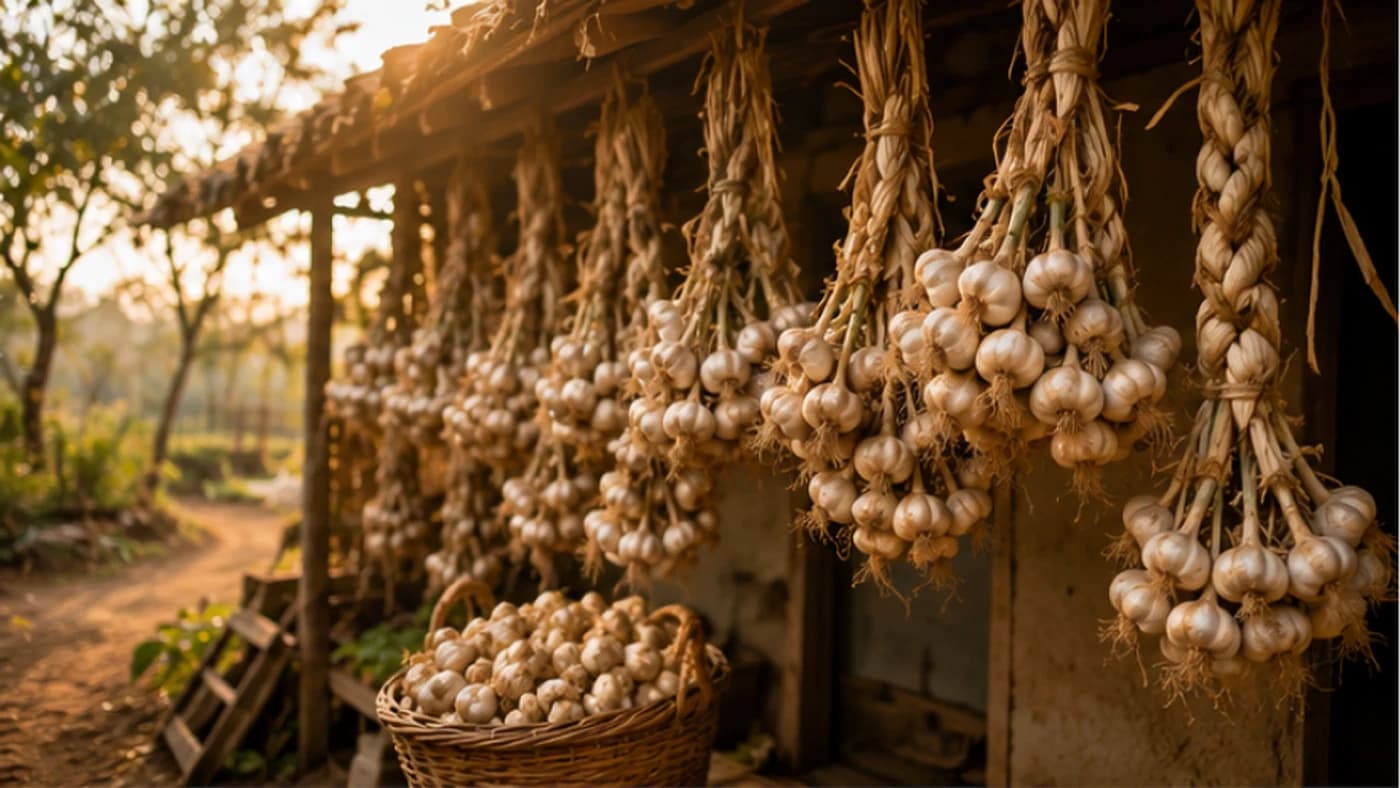
A very large share of a garlic harvest rots before it's even used — not from disease in the field, but from how it was cured after harvest. Curing isn't simply drying the garlic; it's letting the plant's energy retreat fully into the bulb while the outer skins and neck tighten into a natural, airtight seal. If moisture stays trapped in those skins during this process, you aren't curing the garlic — you're slowly composting it. Getting this one post-harvest step right is often the difference between garlic that lasts a few weeks and garlic that lasts most of the year.
What curing actually does
At harvest, a garlic bulb can be up to 60% water by weight. If you store it immediately, that moisture has nowhere to go but into the cloves, inviting mould and decay. Curing removes the excess moisture from the outer wrappers and neck, building a papery, protective barrier that shields the cloves from pathogens and slows dehydration. Done well, hardneck garlic varieties typically stay good for 4–6 months, while softneck varieties can last close to a full year.
Why open, single-layer curing beats braiding
Braiding garlic and hanging it in bunches looks traditional and photogenic, but the centre of a tight bundle often stays damp far longer than the outside, becoming a breeding ground for mould. A single layer on a screen-bottomed tray, slatted rack, or even mesh spread over a frame lets air move both across and through the bulbs, so the neck — the most vulnerable point for infection — dries quickly and evenly. It also makes inspection far easier: a bulb that's leaking or showing mould is obvious in a single layer, and can be pulled before it spoils its neighbours, something that's nearly impossible with a tightly bundled braid.
The curing process, step by step
Move garlic out of direct sun immediately after harvest — sun-exposed soil temperatures can exceed 32°C, which effectively cooks the bulbs and damages flavour. Move it to a shaded, well-ventilated space — a covered veranda, shed, or barn works well. Spread it in a single layer on a tray or rack so the bottom of each bulb isn't sitting in its own moisture, and if possible, keep a fan or natural cross-breeze moving air gently and continuously across the bulbs to prevent stagnant, humid pockets forming around the necks, where rot typically starts.
Curing works best at 21–27°C. Curing too fast under excessive heat can make the garlic waxy and flavourless; slow, even curing at a moderate temperature lets the flavour develop and stabilise properly.
Common mistakes to avoid
Washing the garlic after harvest feels like good housekeeping but is one of the most damaging mistakes — introducing water at this stage traps moisture under the skins where no airflow can reach it. Let the mud dry and brush it off gently once curing is complete. Trimming the stem too early is another common error: the bulb continues drawing moisture and energy from the stem for the first two to three weeks, so cutting it early leaves an open, wet wound that invites bacteria — wait until the neck is straw-like and brittle before trimming. And overcrowding is a frequent problem: stacking garlic deep in crates creates a humid microclimate in the middle of the pile that even a fan struggles to reach; if you don't have space for a single layer, you need significantly more airflow to compensate.
Frequently asked
Is braiding garlic a good way to cure it?+
It looks attractive but isn't ideal — the centre of a tight braid or bundle stays damp far longer than a single layer on an open rack, which significantly increases the risk of mould and rot.
How long does garlic take to cure?+
Typically two to three weeks at minimum before trimming the neck, and curing is considered complete once the neck is dry, straw-like and brittle rather than soft or damp.
Should I wash garlic before curing it?+
No. Let the field soil dry naturally and brush it off gently after curing — washing traps moisture under the skins exactly where you don't want it.
What's the ideal temperature for curing garlic?+
Around 21–27°C, in a shaded, well-ventilated space out of direct sun. Curing too hot and fast can make garlic waxy and flavourless.
How can I tell if garlic is fully cured?+
Press a cut stem end against your lip — if it feels cool or damp, it needs more time; if it feels dry and papery, it's ready. The bulb should also feel notably heavy and firm.
Where to go next
Want this as daily tasks for your farm?
Khetiyaar turns guides like this into a day-by-day plan — in your language, free to start.

Related guides

Monsoon Farming Tips: Protect Your Crops in the Rainy Season
The same rain that grows the Kharif crop also brings waterlogging, disease and losses. A little preparation protects your season and your income.
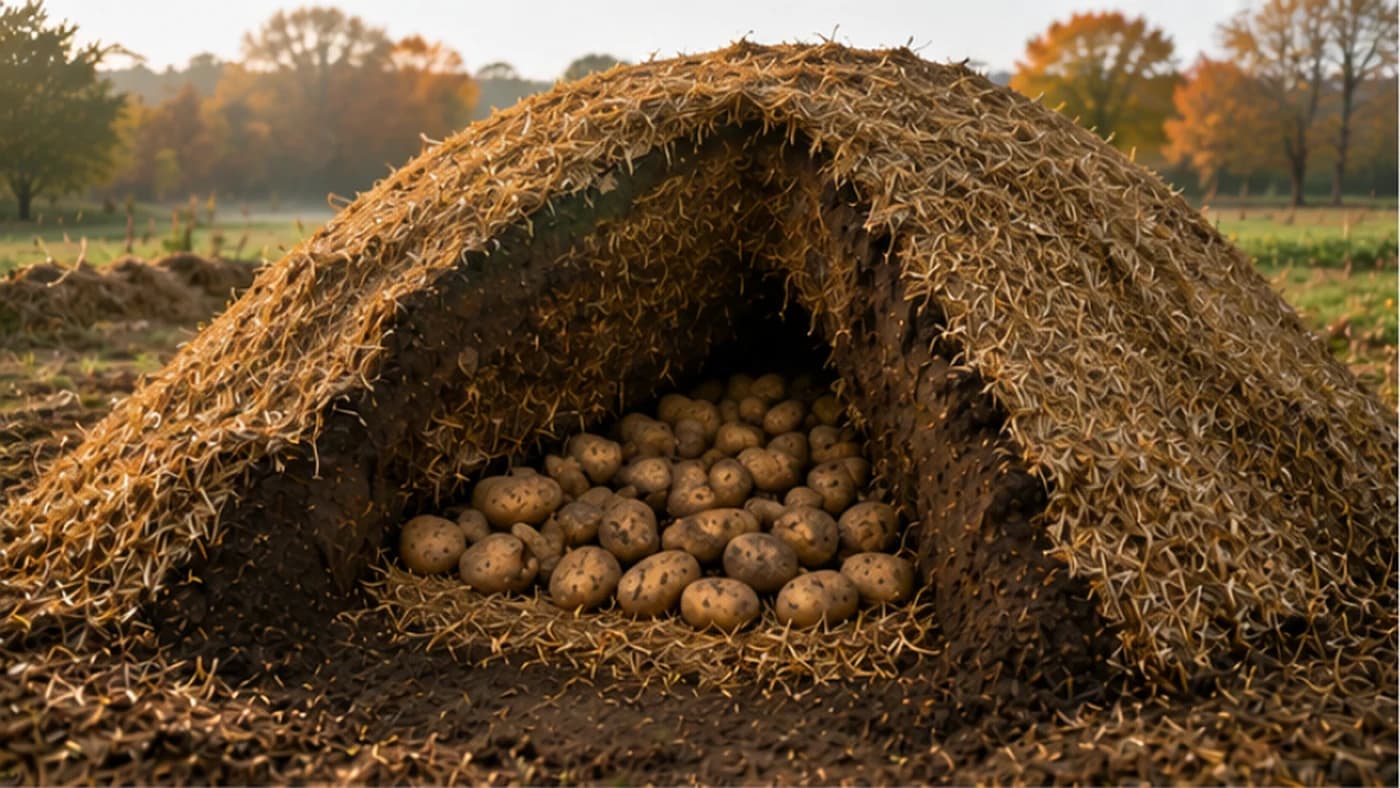
How to Store Potatoes Without Electricity: The Traditional Pit Clamp Method
You don't need a cold store to keep a potato surplus through the season. A simple mound of straw and earth — the same principle behind the pit storage many potato belts in India already use — keeps tubers fresh for months at zero running cost.
Potato Storage and Cold Chain: A Complete Guide for Indian Farmers
Potatoes rot, sprout, and lose weight fast after harvest — but the right curing, temperature and simple storage choices can keep them sound for months, cold store or not.