

Permaculture Swale Design for Beginners: A Step-by-Step Build Guide
You don't need machinery or an engineering degree to build your first swale — just an A-frame level, a shovel, and patience. Here is the beginner's hands-on guide to laying out, digging and planting one correctly.
Quick answer
A beginner's first swale does not need to be perfect, but it does need to be level, planted immediately, and fitted with a spillway. Start with an A-frame level to find true contour, dig modestly (45–60 cm wide, 30 cm deep is plenty to start), mulch and plant the berm the same day you dig it, and build your first one near the top of your slope so you learn to manage small volumes of water before tackling the full runoff from above.
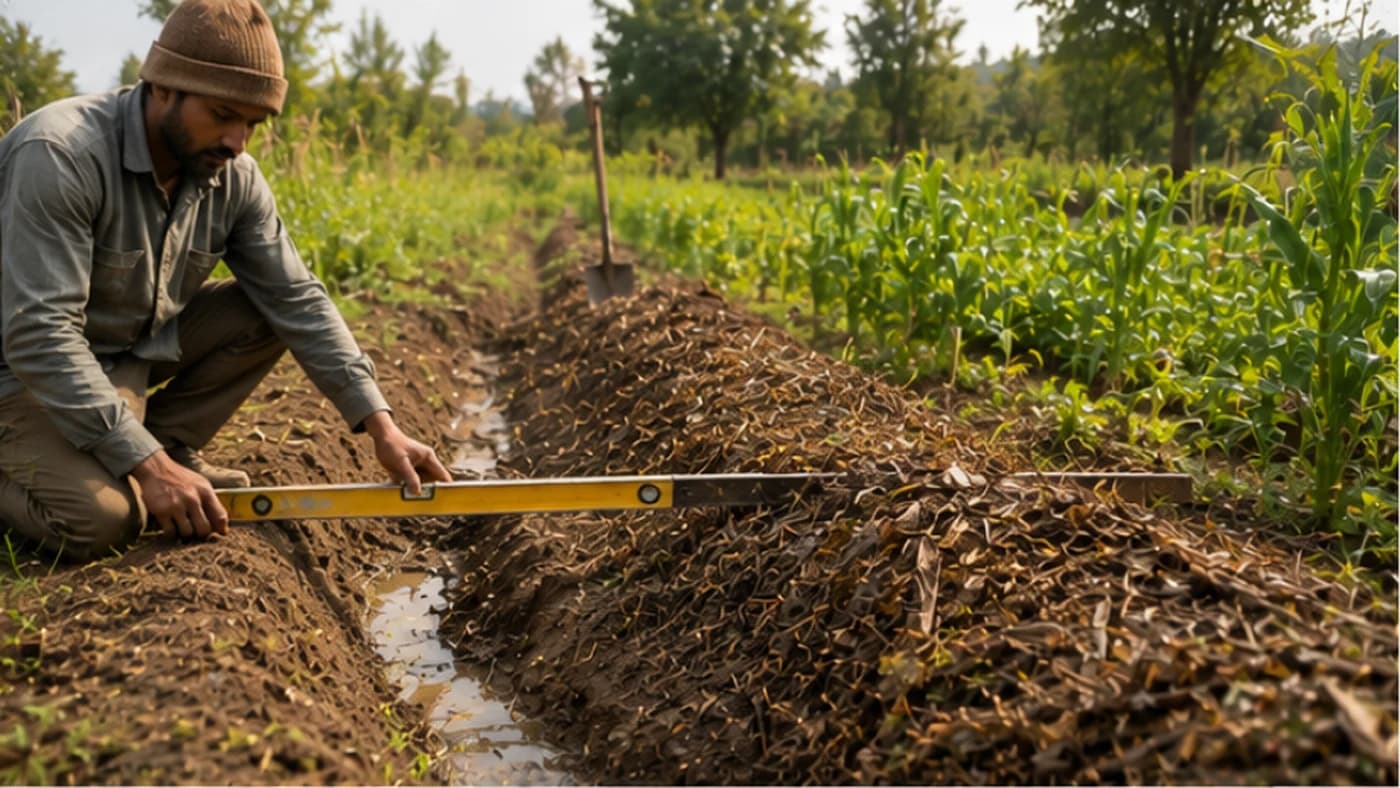
Most farms are built to get rid of rain as fast as possible — sloped land, hard-packed paths and open drains all shunt water off the property within minutes. Every drop that leaves that quickly is a drop your crop won't have in the dry weeks ahead. If your soil turns rock-hard between rains and your slopes are scarred with small gullies, the real problem usually isn't drainage — it's storage. A swale is the simplest way to start storing water in the ground itself, and this guide walks a first-time builder through exactly how to lay one out, dig it, and plant it so it works.
What you are actually building
A swale is a ditch dug exactly on the contour of the land — meaning every point along its base sits at the same elevation, from one end to the other. That single detail is what separates it from an ordinary drainage ditch. Because the base is level, water entering the swale cannot flow downhill along it; it can only spread out and sink straight down. On the downhill side of the trench, the soil you dig out is piled into a berm — a raised planting bed of loose, well-aerated earth sitting right beside a steady underground water source, which is why trees and vegetables planted there tend to grow unusually well.
Step 1 — Find your true contour line
You cannot judge a level line by eye; even a gentle slope will fool you, and a swale dug even slightly off-level will pool water at one end and eventually blow out the berm. Build an A-frame level yourself from three pieces of scrap wood, some string and a small weight — when the string hangs exactly at the marked centre point, both legs of the frame are touching ground at the same elevation. Walk this frame across your slope step by step, marking each spot where it reads level with a flag or stake, then connect the flags into your contour line. A store-bought line level or laser level does the same job faster if you have one, but the A-frame is free and reliable.
Step 2 — Dig the trench and build the berm
For a small garden swale, a shovel and a strong back are enough; larger farm swales may need a mini-excavator. Dig a flat-bottomed trench along your marked line, sizing its width and depth to your local rainfall intensity — as a starting point, 45–60 cm wide and about 30 cm deep suits most homestead situations. Place every scoop of excavated soil on the downhill side of the trench to build the berm, and resist the urge to pack it down — loose, uncompacted soil is exactly what lets roots penetrate and air and water move through it. Shape the berm with a broad, rounded top rather than a sharp ridge, which resists erosion far better.
Step 3 — Always build a spillway
Every swale will eventually fill past capacity during an unusually heavy storm, and if you have not given that extra water a controlled place to go, it will make its own exit — almost always by tearing through your berm. A spillway is simply a slightly lower, reinforced section of the berm, positioned over stable, well-vegetated ground, dug about 10–15 cm below the rest of the berm crest and lined with flat stones or tough grass roots so escaping water does not cause erosion. Build the spillway before the first big rain, not after.
What changes once it's working
Instead of water skating across the top few centimetres of soil and running off, a working swale drives it deep into the profile, recharging the water table below and letting trees on the berm draw on that reserve for weeks after the rain has passed. Because the water is no longer scouring the surface, erosion drops sharply, and the moisture plus dense planting create a slightly cooler, more humid microclimate that protects tender plants during the hottest part of the day. Organic debris — leaves, mulch, manure — collects in the damp trench and slowly enriches the berm, so the whole system becomes more fertile with time rather than less.
Mistakes beginners make
Never build on a slope steeper than about 15%; on steep ground the extra water soaking in can actually destabilise the soil and raise landslide risk, so terracing or check-dam-style structures are the safer choice there. Keep swales well away from house foundations, wells and septic systems — as a rule of thumb, at least 3–6 metres — since you are deliberately saturating the ground, and you do not want that pressure against a footing or a leach field. And never leave a freshly dug berm bare: an unplanted, unmulched berm is a landslide of loose soil waiting for the next rain, so have seed and mulch ready before you dig the first spadeful, not after.
Terms explained in this guide
Frequently asked
What tools do I need to build my first swale?+
A shovel, a homemade A-frame level (three sticks, string and a weight) or a line level, some flags or stakes to mark the contour, and mulch and seed ready for the berm. No machinery is required for a small garden-scale swale.
How do I find the contour line without expensive equipment?+
Build an A-frame level from scrap wood, string and a small weight. Walk it across the slope; wherever the string hangs at the marked centre, both legs are at the same elevation — mark that spot and keep going to trace your contour.
What size should a beginner's swale be?+
Start small: a trench about 45–60 cm wide and 30 cm deep is enough to learn the process and see results, and you can size up on future swales once you understand how your soil and rainfall behave.
Do I need a spillway for a small garden swale?+
Yes. Even a small swale can overflow during an unusually heavy storm, and a reinforced spillway gives that excess water a safe, controlled exit instead of tearing through your berm.
Can I build a swale on a steep slope?+
Not recommended above roughly 15% slope. On steeper ground, the extra water soaking into the soil can increase landslide risk — terracing or check dams are safer there.
Where to go next
Want this as daily tasks for your farm?
Khetiyaar turns guides like this into a day-by-day plan — in your language, free to start.

Related guides
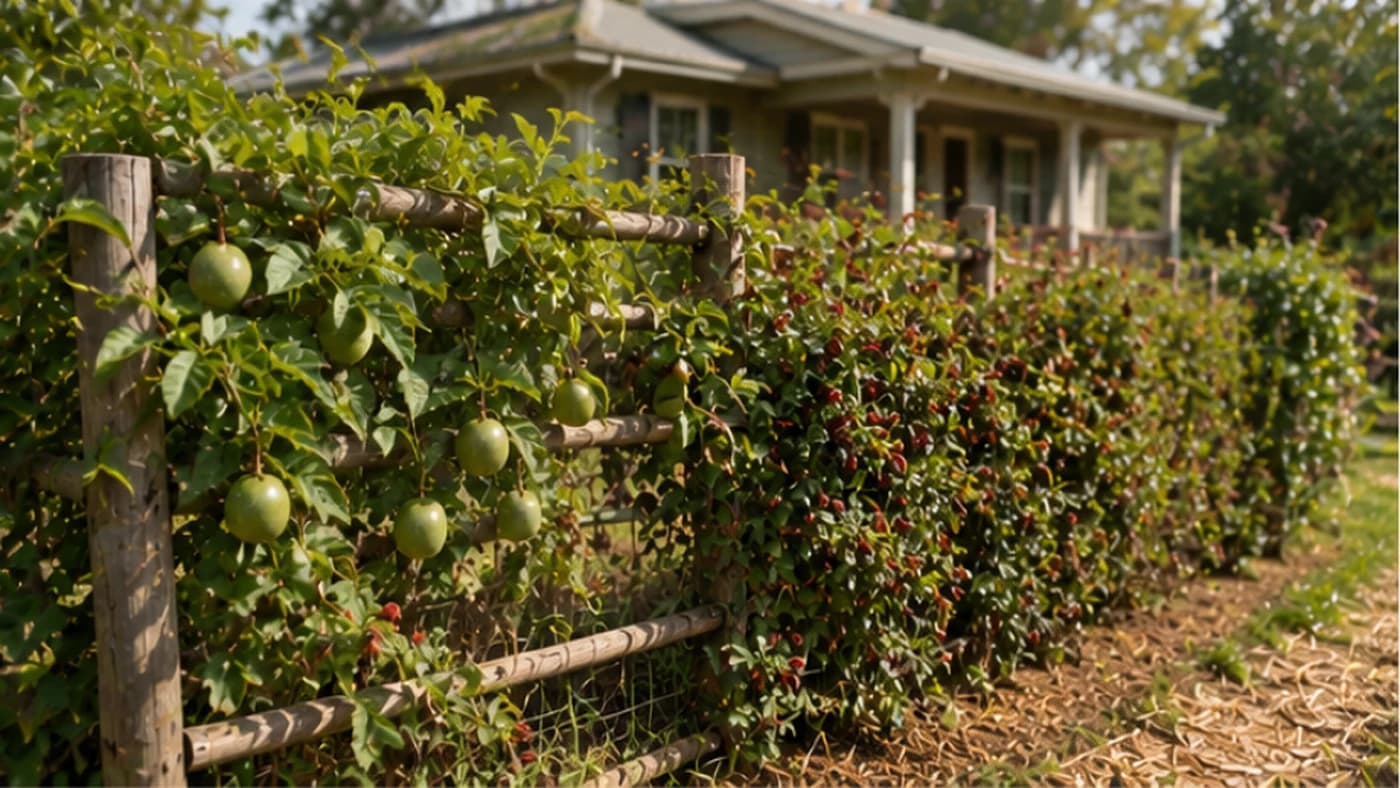
Gravity-Fed Water Systems: Reliable Water Supply Without a Pump
If your farm or hill homestead has any real slope, gravity can deliver pressurised water to your home, livestock trough, or field — with no electricity bill, no pump to fail, and no water stoppage the moment the power goes out.
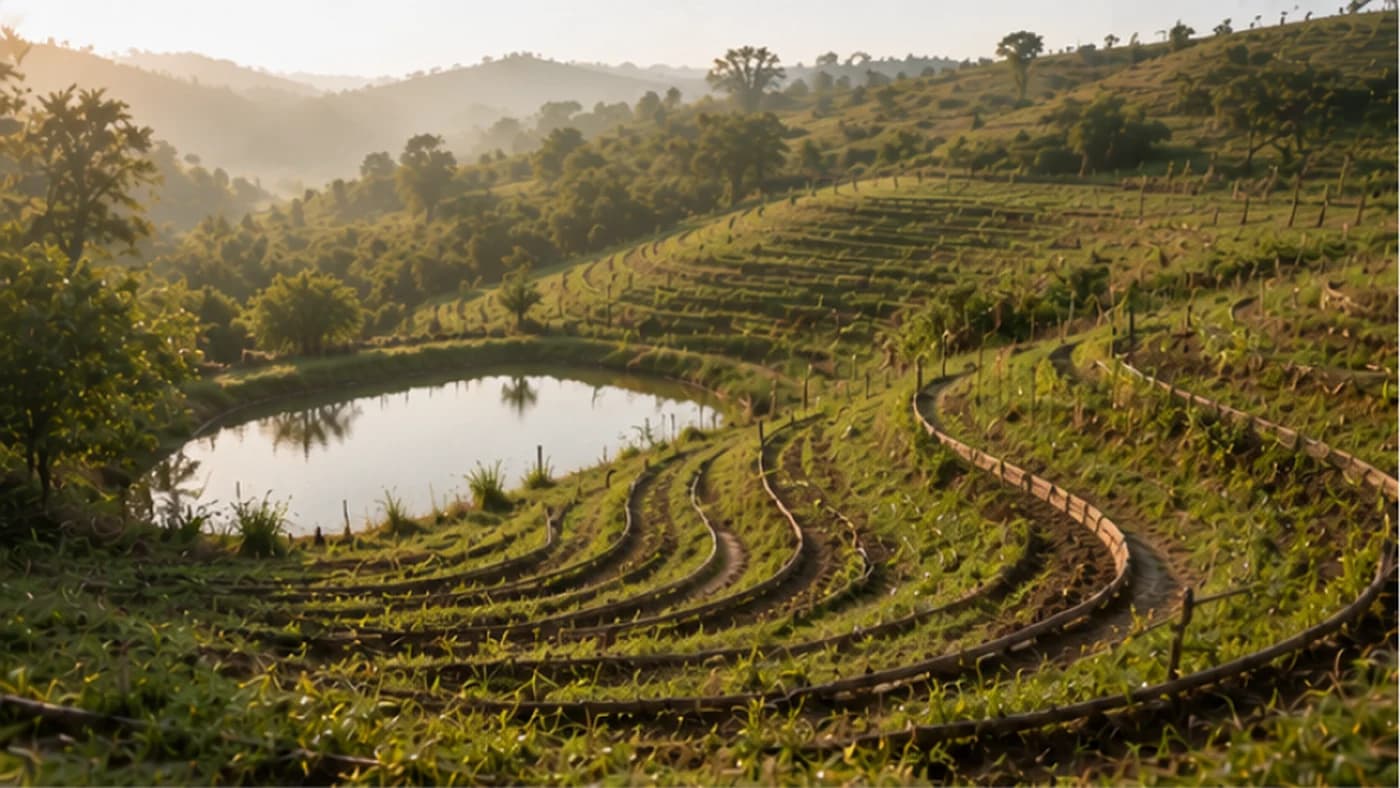
Keyline Design: Turn Every Monsoon Flood into Stored Water
Keyline design reshapes how water moves across sloped land — pulling it out of waterlogged valleys and spreading it onto thirsty ridges. It builds topsoil, drought-proofs pasture, and softens flash floods.
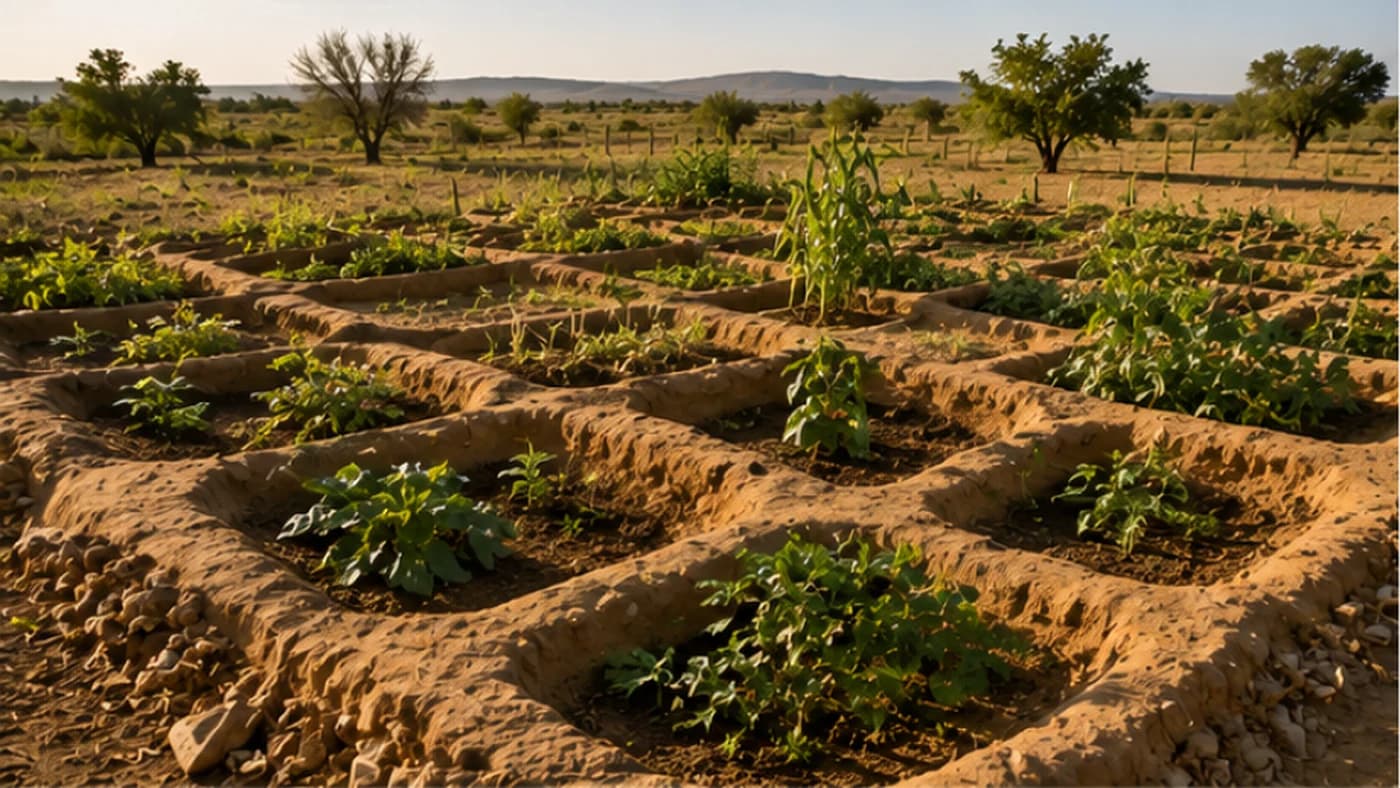
The Zuni Waffle Garden: An Ancient Dryland Method for Water-Scarce Farms
Ordinary sprinklers lose much of their water to wind and evaporation. This centuries-old sunken-bed technique from the American Southwest desert traps every drop close to the roots — and it adapts easily to India's driest tracts.